Fusing with Glow Powder !!!
Glow powder has been a hot topic lately and I wanted to publish some of my discoveries as a lot of people have expressed interest in it. There are many “glow powders” out there but this article is in relation to glow powder used for glass fusing in a kiln.
This is the magic stuff I am talking about: CBS Glow Powder
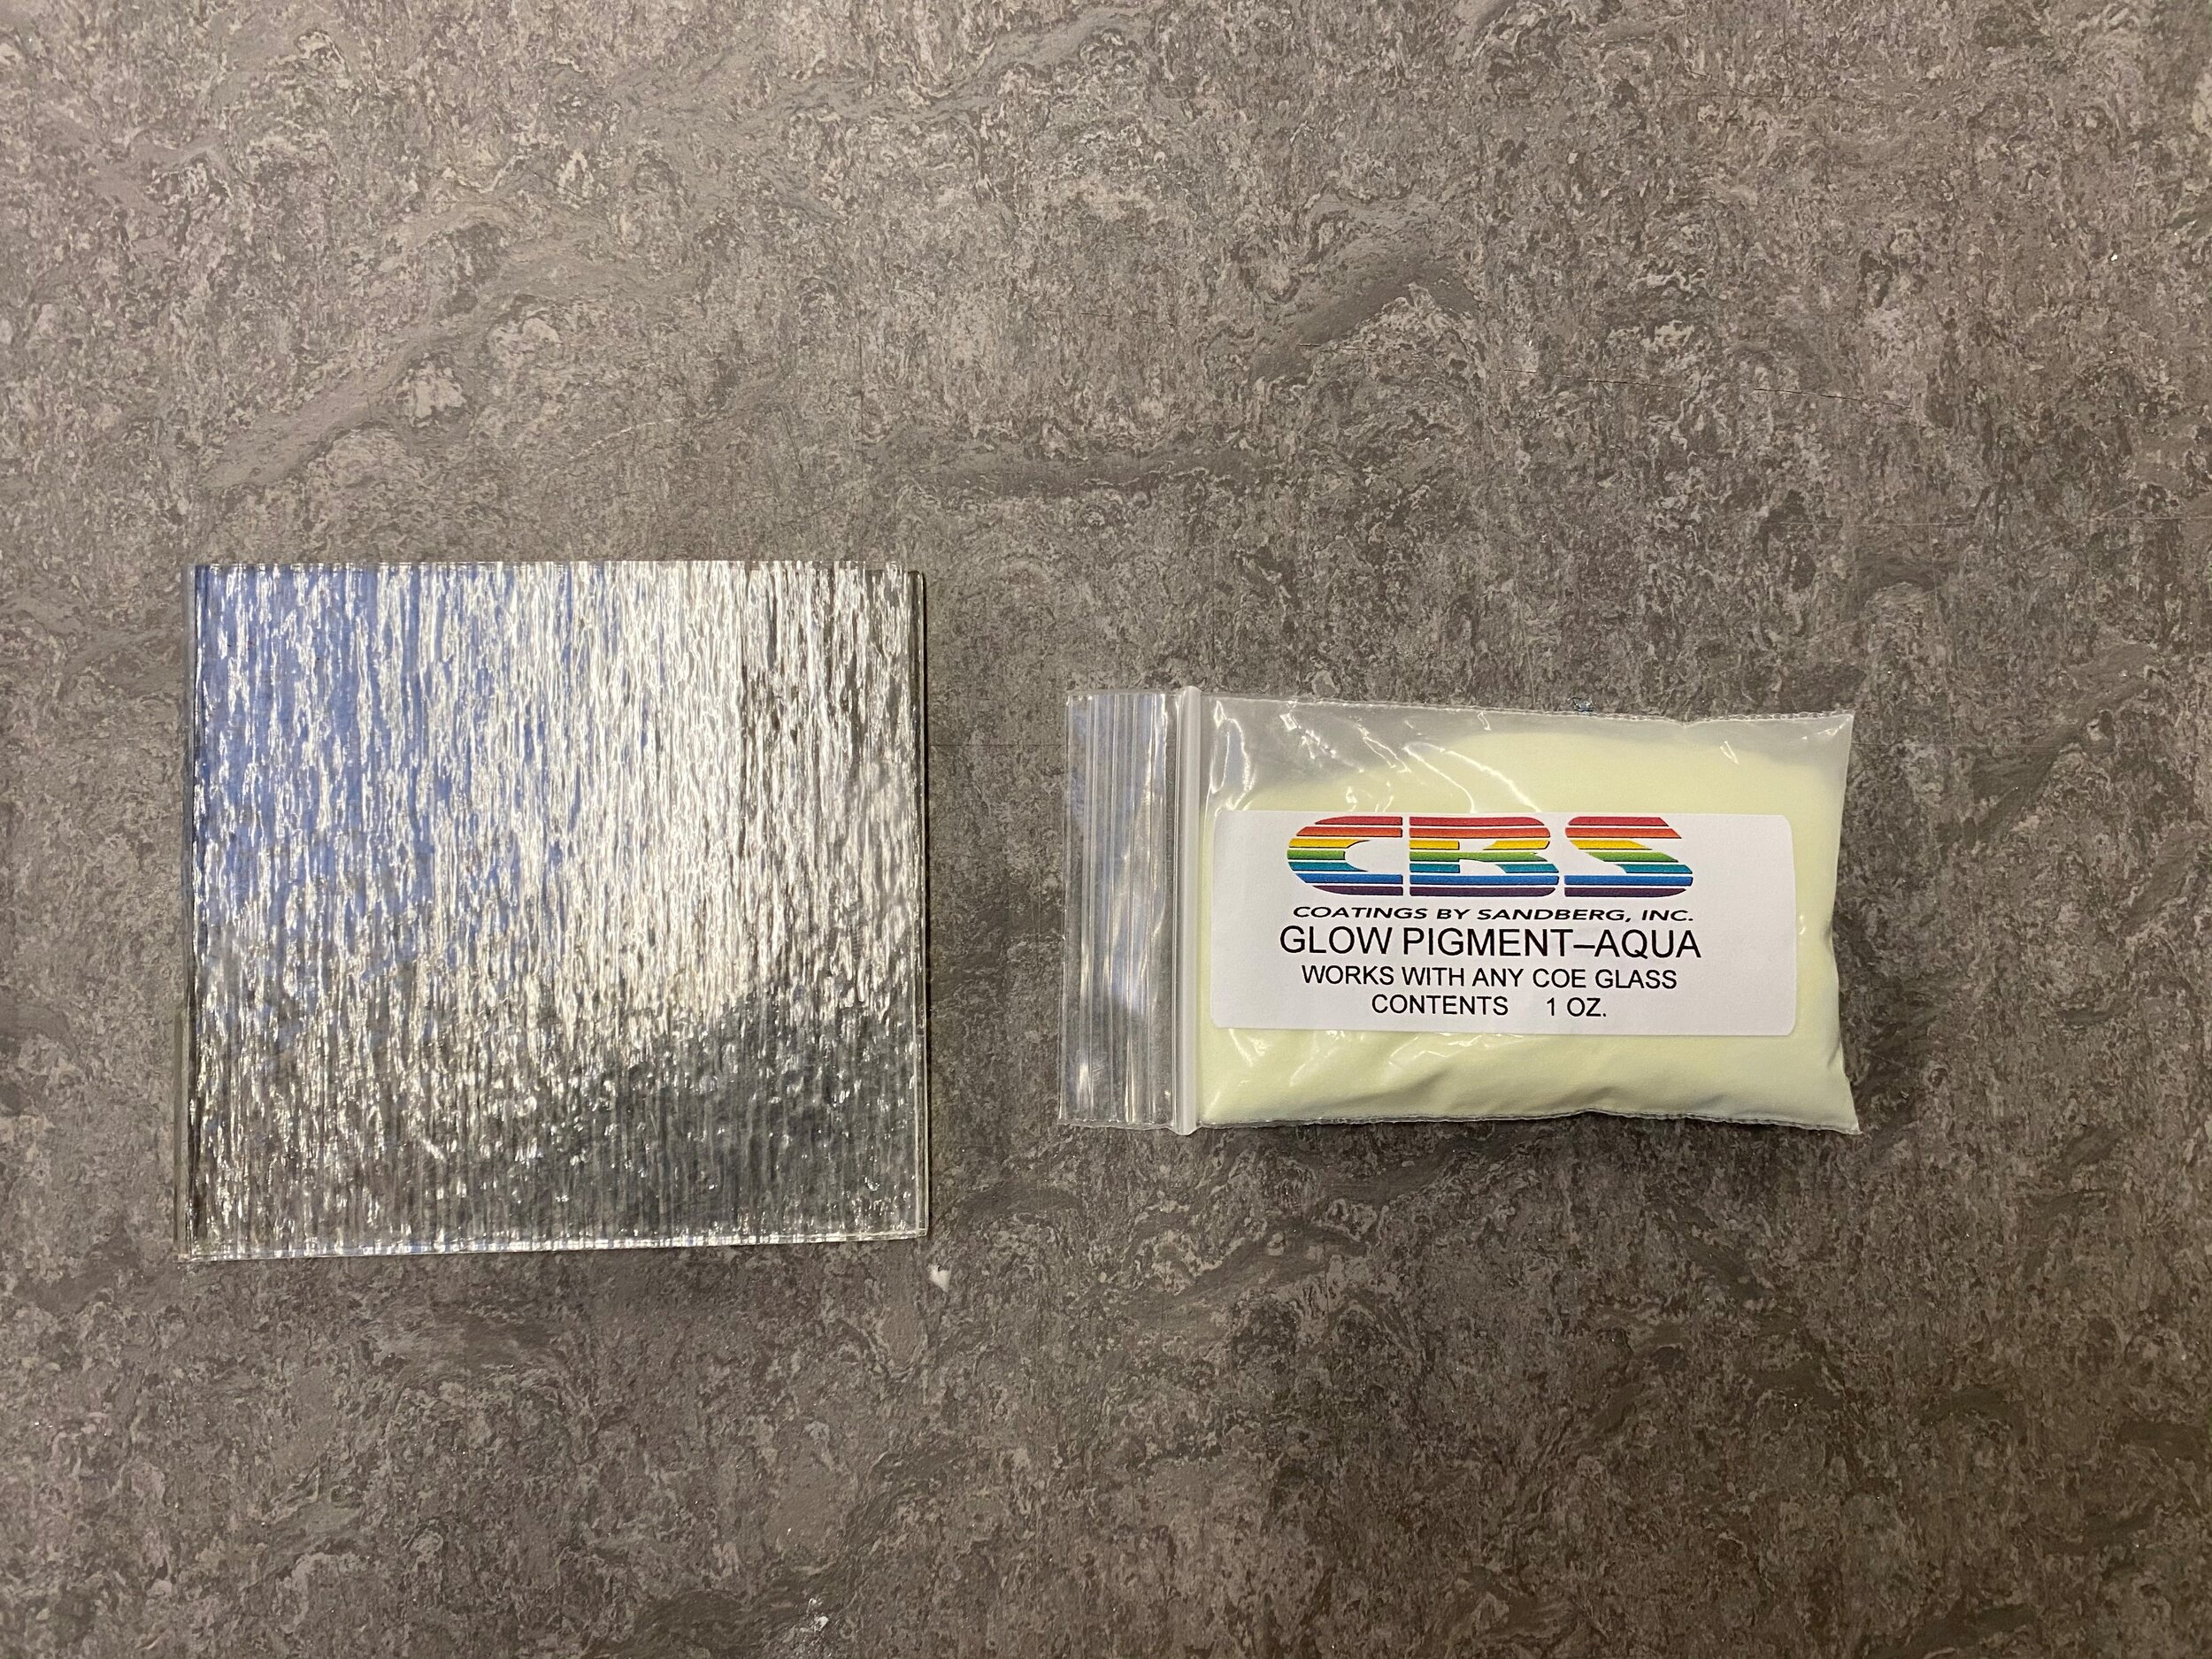
It is made by the same company that creates the dichroic glass that some of us are so fond of. The glow stuff comes in three colors: aqua, blue, and yellow. This glow powder can be purchased online (Bullseye Glass does not carry this product) and works with any COE of glass. What does that mean? It works with almost ANY glass! Woohoo! So whether you are team Bullseye, love float glass, or are a glassblower you can use the same stuff across all your projects. This article is based on fused glass experiments done with Bullseye glass. That is where my expertise lies and unfortunately I don’t have working knowledge with other glasses. I view this as an investigation still in progress as I have not tried absolutely everything. If you have any thoughts or discoveries that you would like to share please leave them in the comments below or email me at: jwalkerartglass@gmail.com
OK lets dig in!
There are 2 very important things to keep in mind when working with glow powder.
It has a rough texture no matter what temperature you take it to and it doesn’t really “fuse” into the surface like glass powder does. So you must mix it with glass powder AND encase it between layers of glass. Think of it as an inclusion - like silver/copper foil or mica - it does not behave like glass it is something that the glass can accept into it. If you leave it on the surface it will start to rub off even after being fused.
It traps bubbles like crazy! So if you are putting it between sheets don’t pile it up too high. Try and leave a pathway for the air to escape.
Also, I feel like this should go without saying, but WEAR A PARTICULATE RESPIRATOR WHEN WORKING WITH ANY POWDERED MEDIA :)

Glow powder aint cheap but a little goes a long way when mixing it with glass powder. I was skeptical of doing this at first because I wanted the glowiest glow possible. But even when it is diluted with glass powder (I use 1101-0008 from Bullseye but 1401-0008 works too if you want to pay a little extra) the glow is quite significant. I charged the object under a normal light for about 5 minutes and the glow lasted for hours (and makes a great nightlight ^-^ ). When combined with glass powder you can sift, paint, print (hello powder printing!) or cast with it. The manufacturer recommends a 1:4 ratio of glow powder to glass powder which works quite nicely.
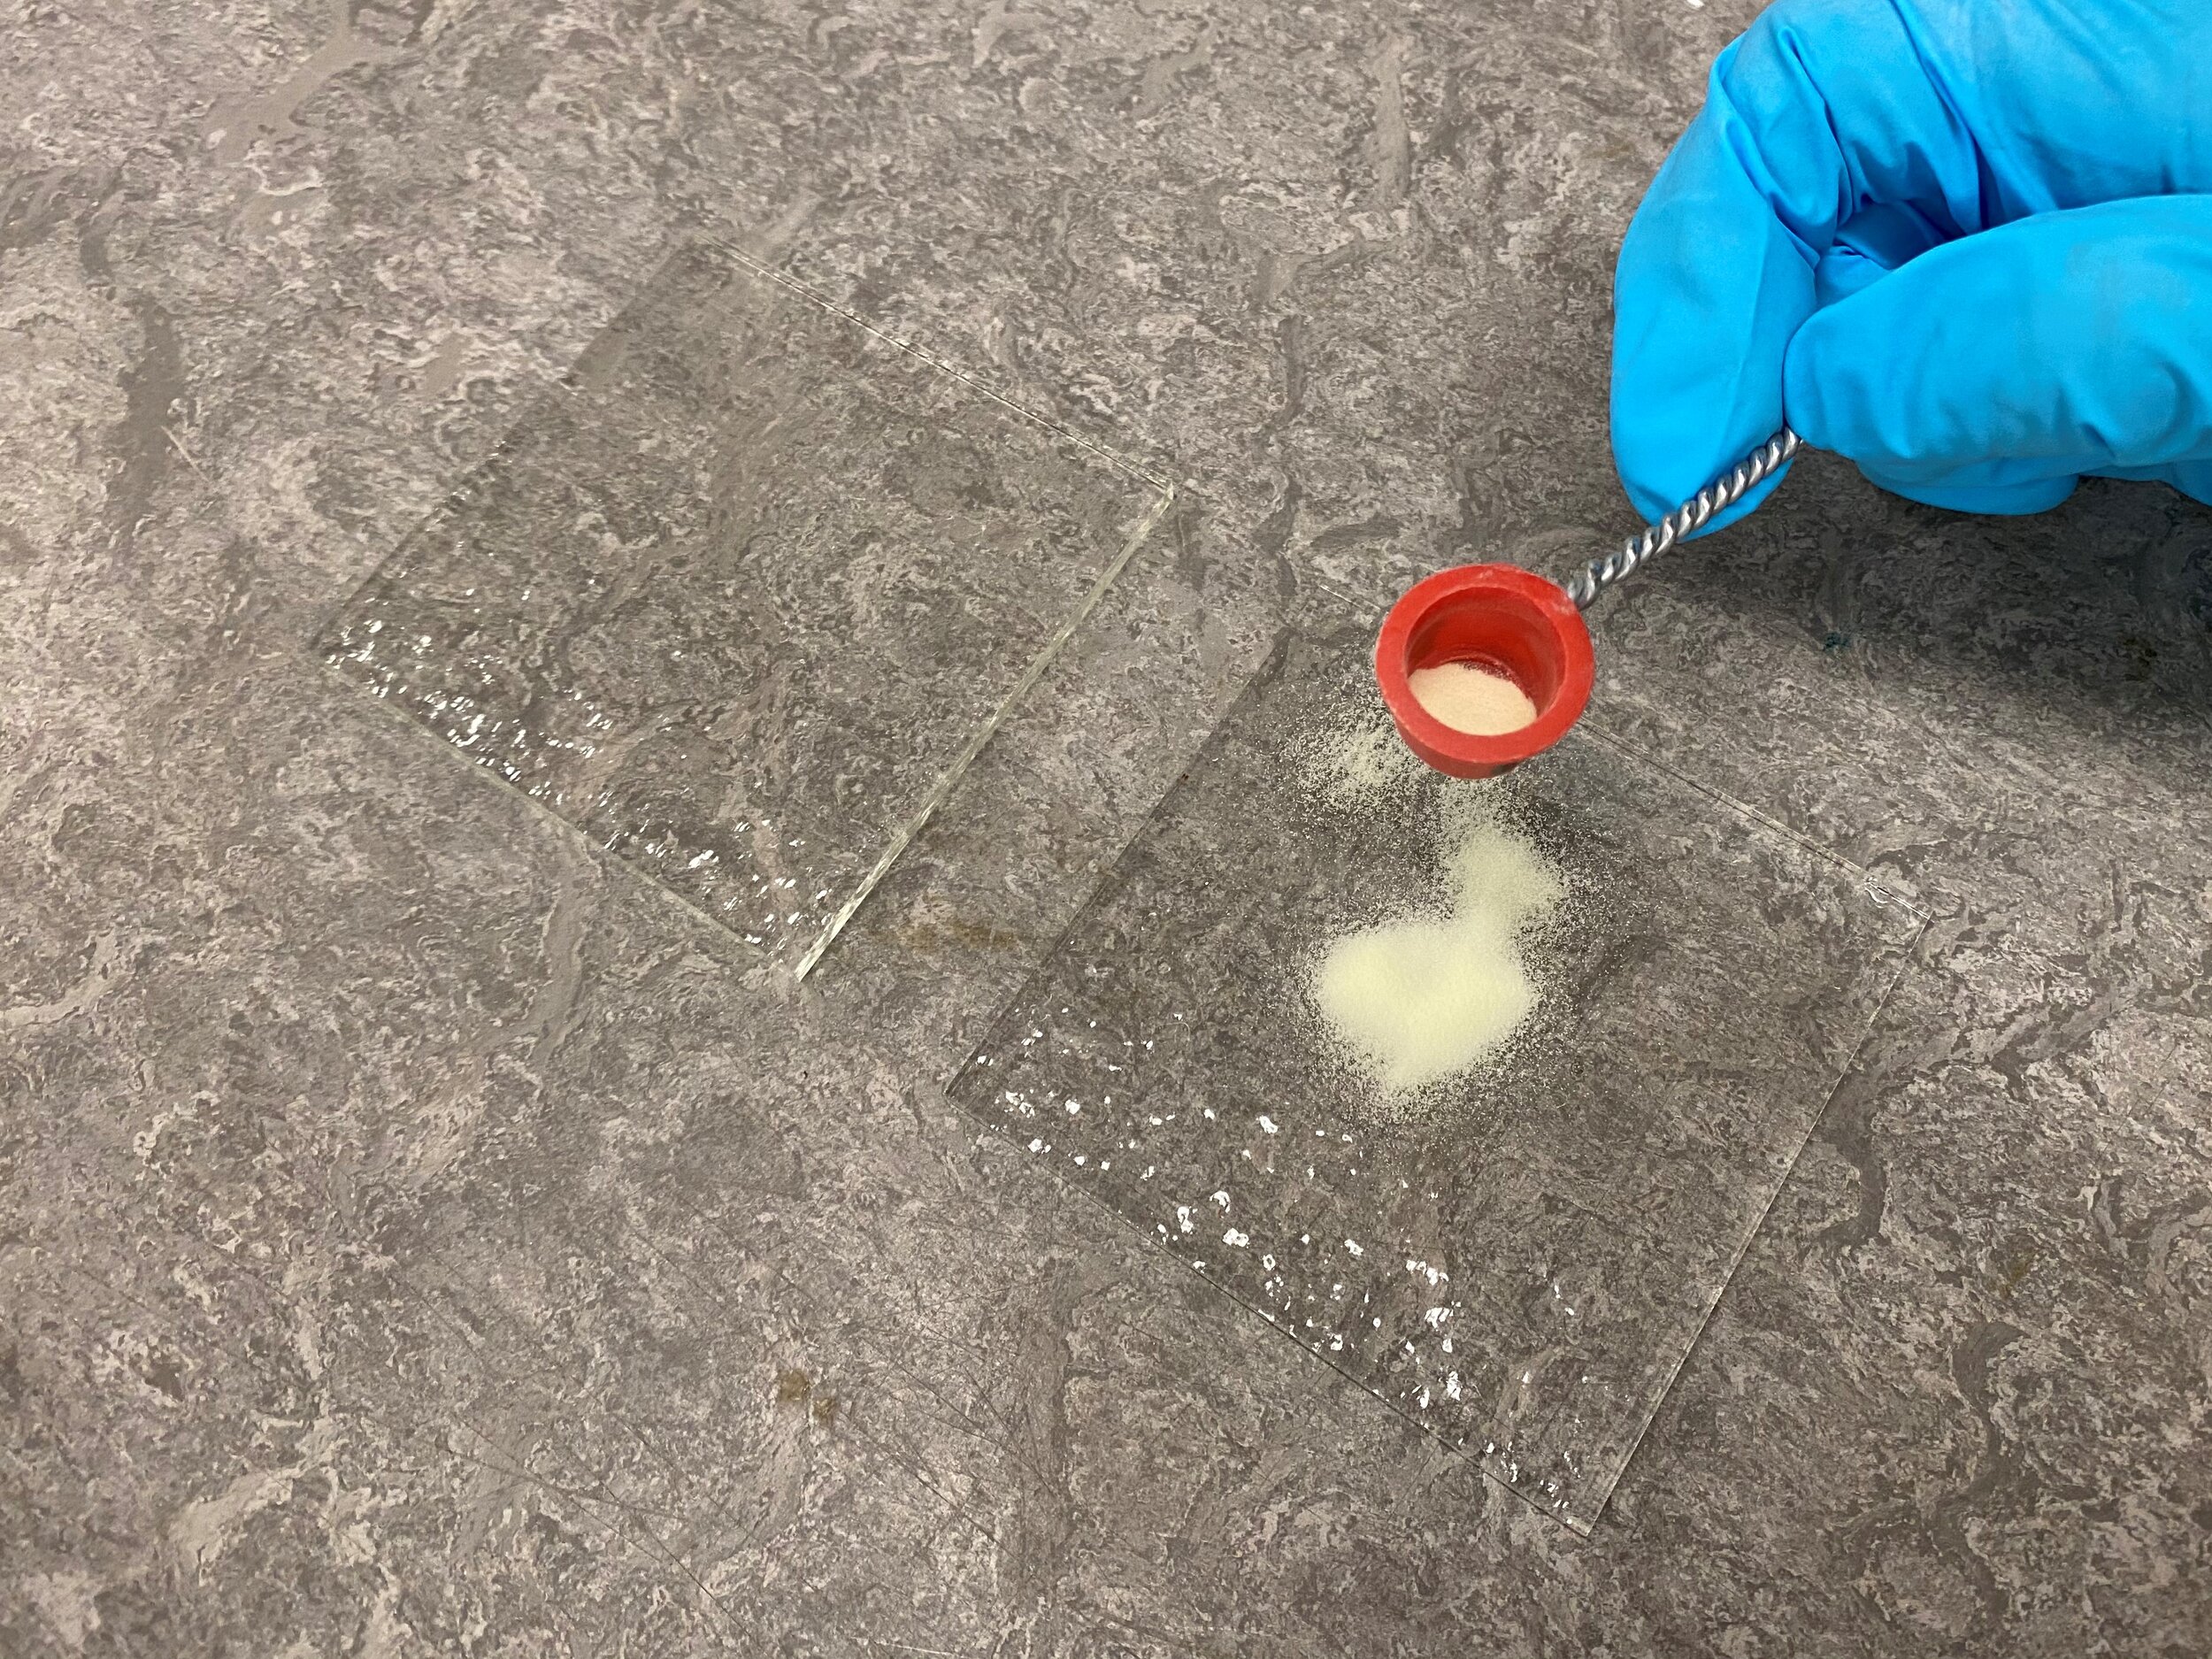
Sifting
With a base of 3mm sheet glass, use a powder sifter to create a design with the diluted glow powder mixture on the surface of your base sheet. Leave an open border around the edge of your glass (about 1/8”) to allow the glass to cleanly fuse around the glow powder. The goal is not to pile your powder too high so you can avoid the aforementioned bubbles. Try to make the layer as even as possible otherwise you will create some crannies for bubbles to collect in. This doesn’t have to be perfect. Add your secondary sheet of glass on top to cap the glow powder and seal it in. Note: this sounds super obvious, but make sure at least one of the glass sheets is a light transparent color… otherwise the light won't penetrate and glow will not be visible : )
I love these powder enamel sifters available from Rio Grande.
Powder Printing - one of my favorite things
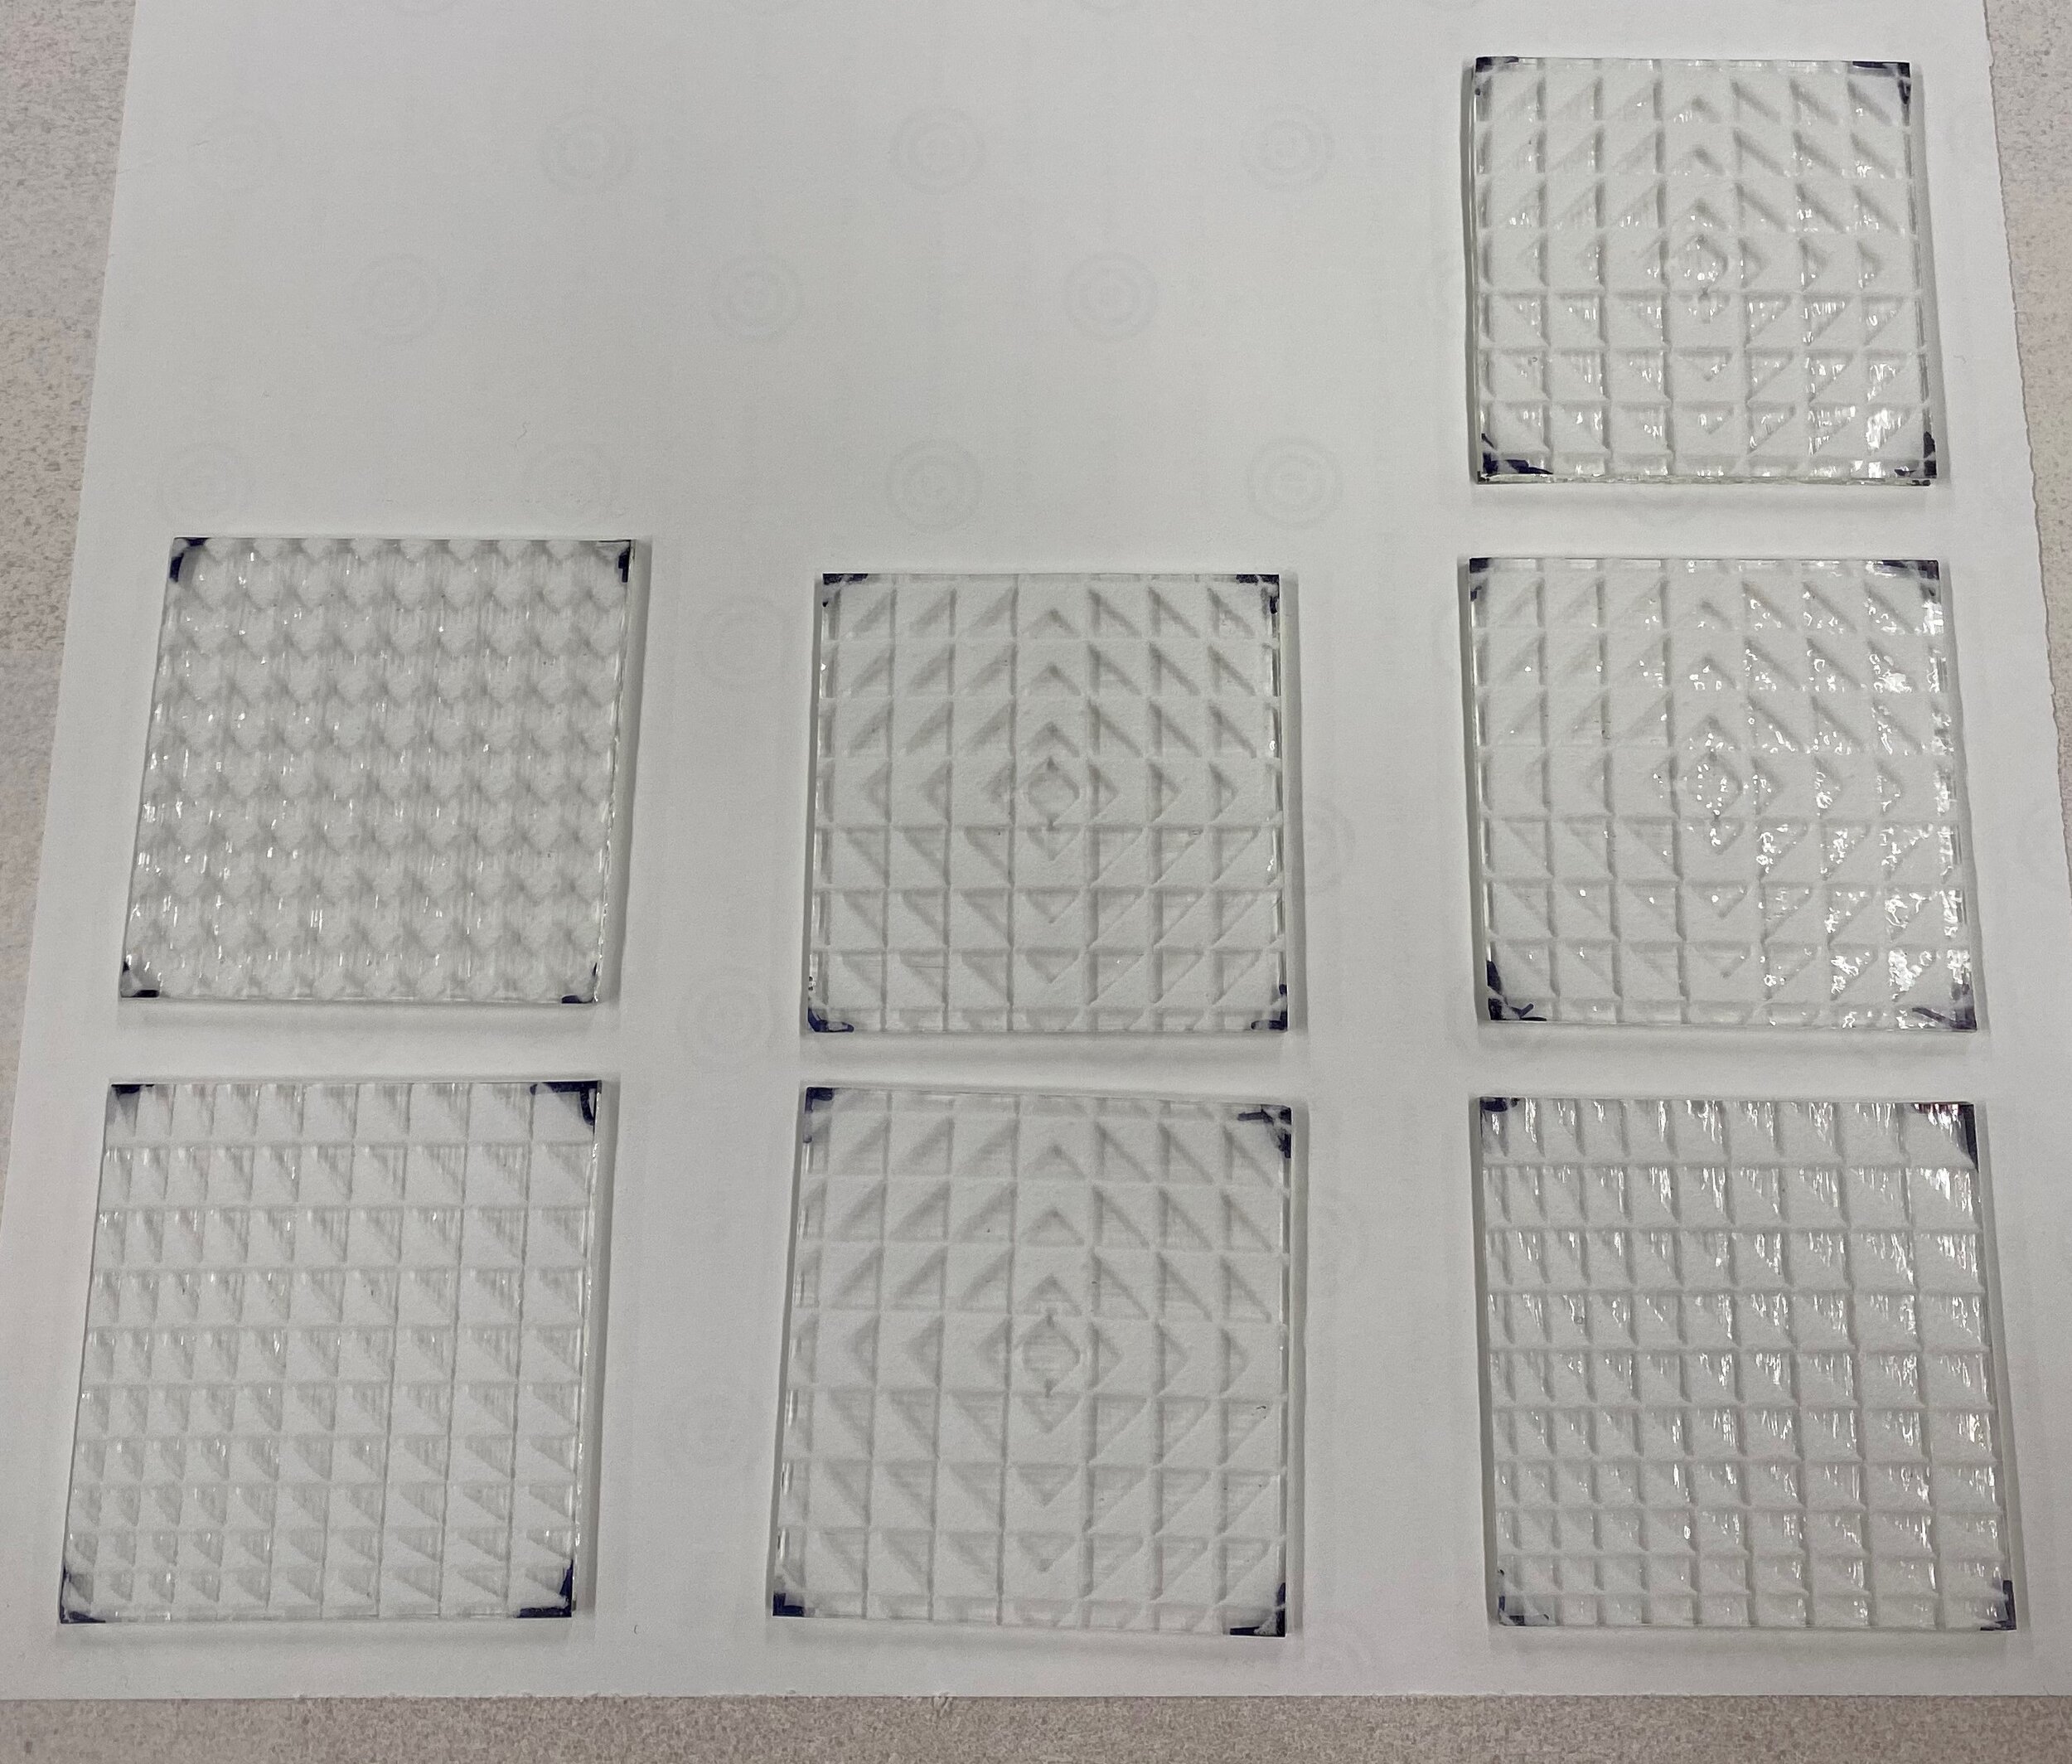
Powder printing works great with the glow powder and glass powder mixture. Just remember that you will have to cap your print with clear which may smoosh your design and trap bubbles. These samples were made with the same 1:4 glow to clear powder ratio and printed with 10 passes. You will notice I went for what we refer to in the print industry as a “full bleed” print meaning that my prints go right up to the edge. I recommend NOT to do this because the glow powder will feel rough around the edges where the two layers of glass sealed together. Brush the powder away from the edge at least 1/8” for a cleaner seal. I ended up coldworking these for a finer finish on the edge. Since I used clear powder the print is quite subtle in the light but really pops in the dark. Free Idea: Try mixing with other powder colors if you desire more contrast when the lights are on.
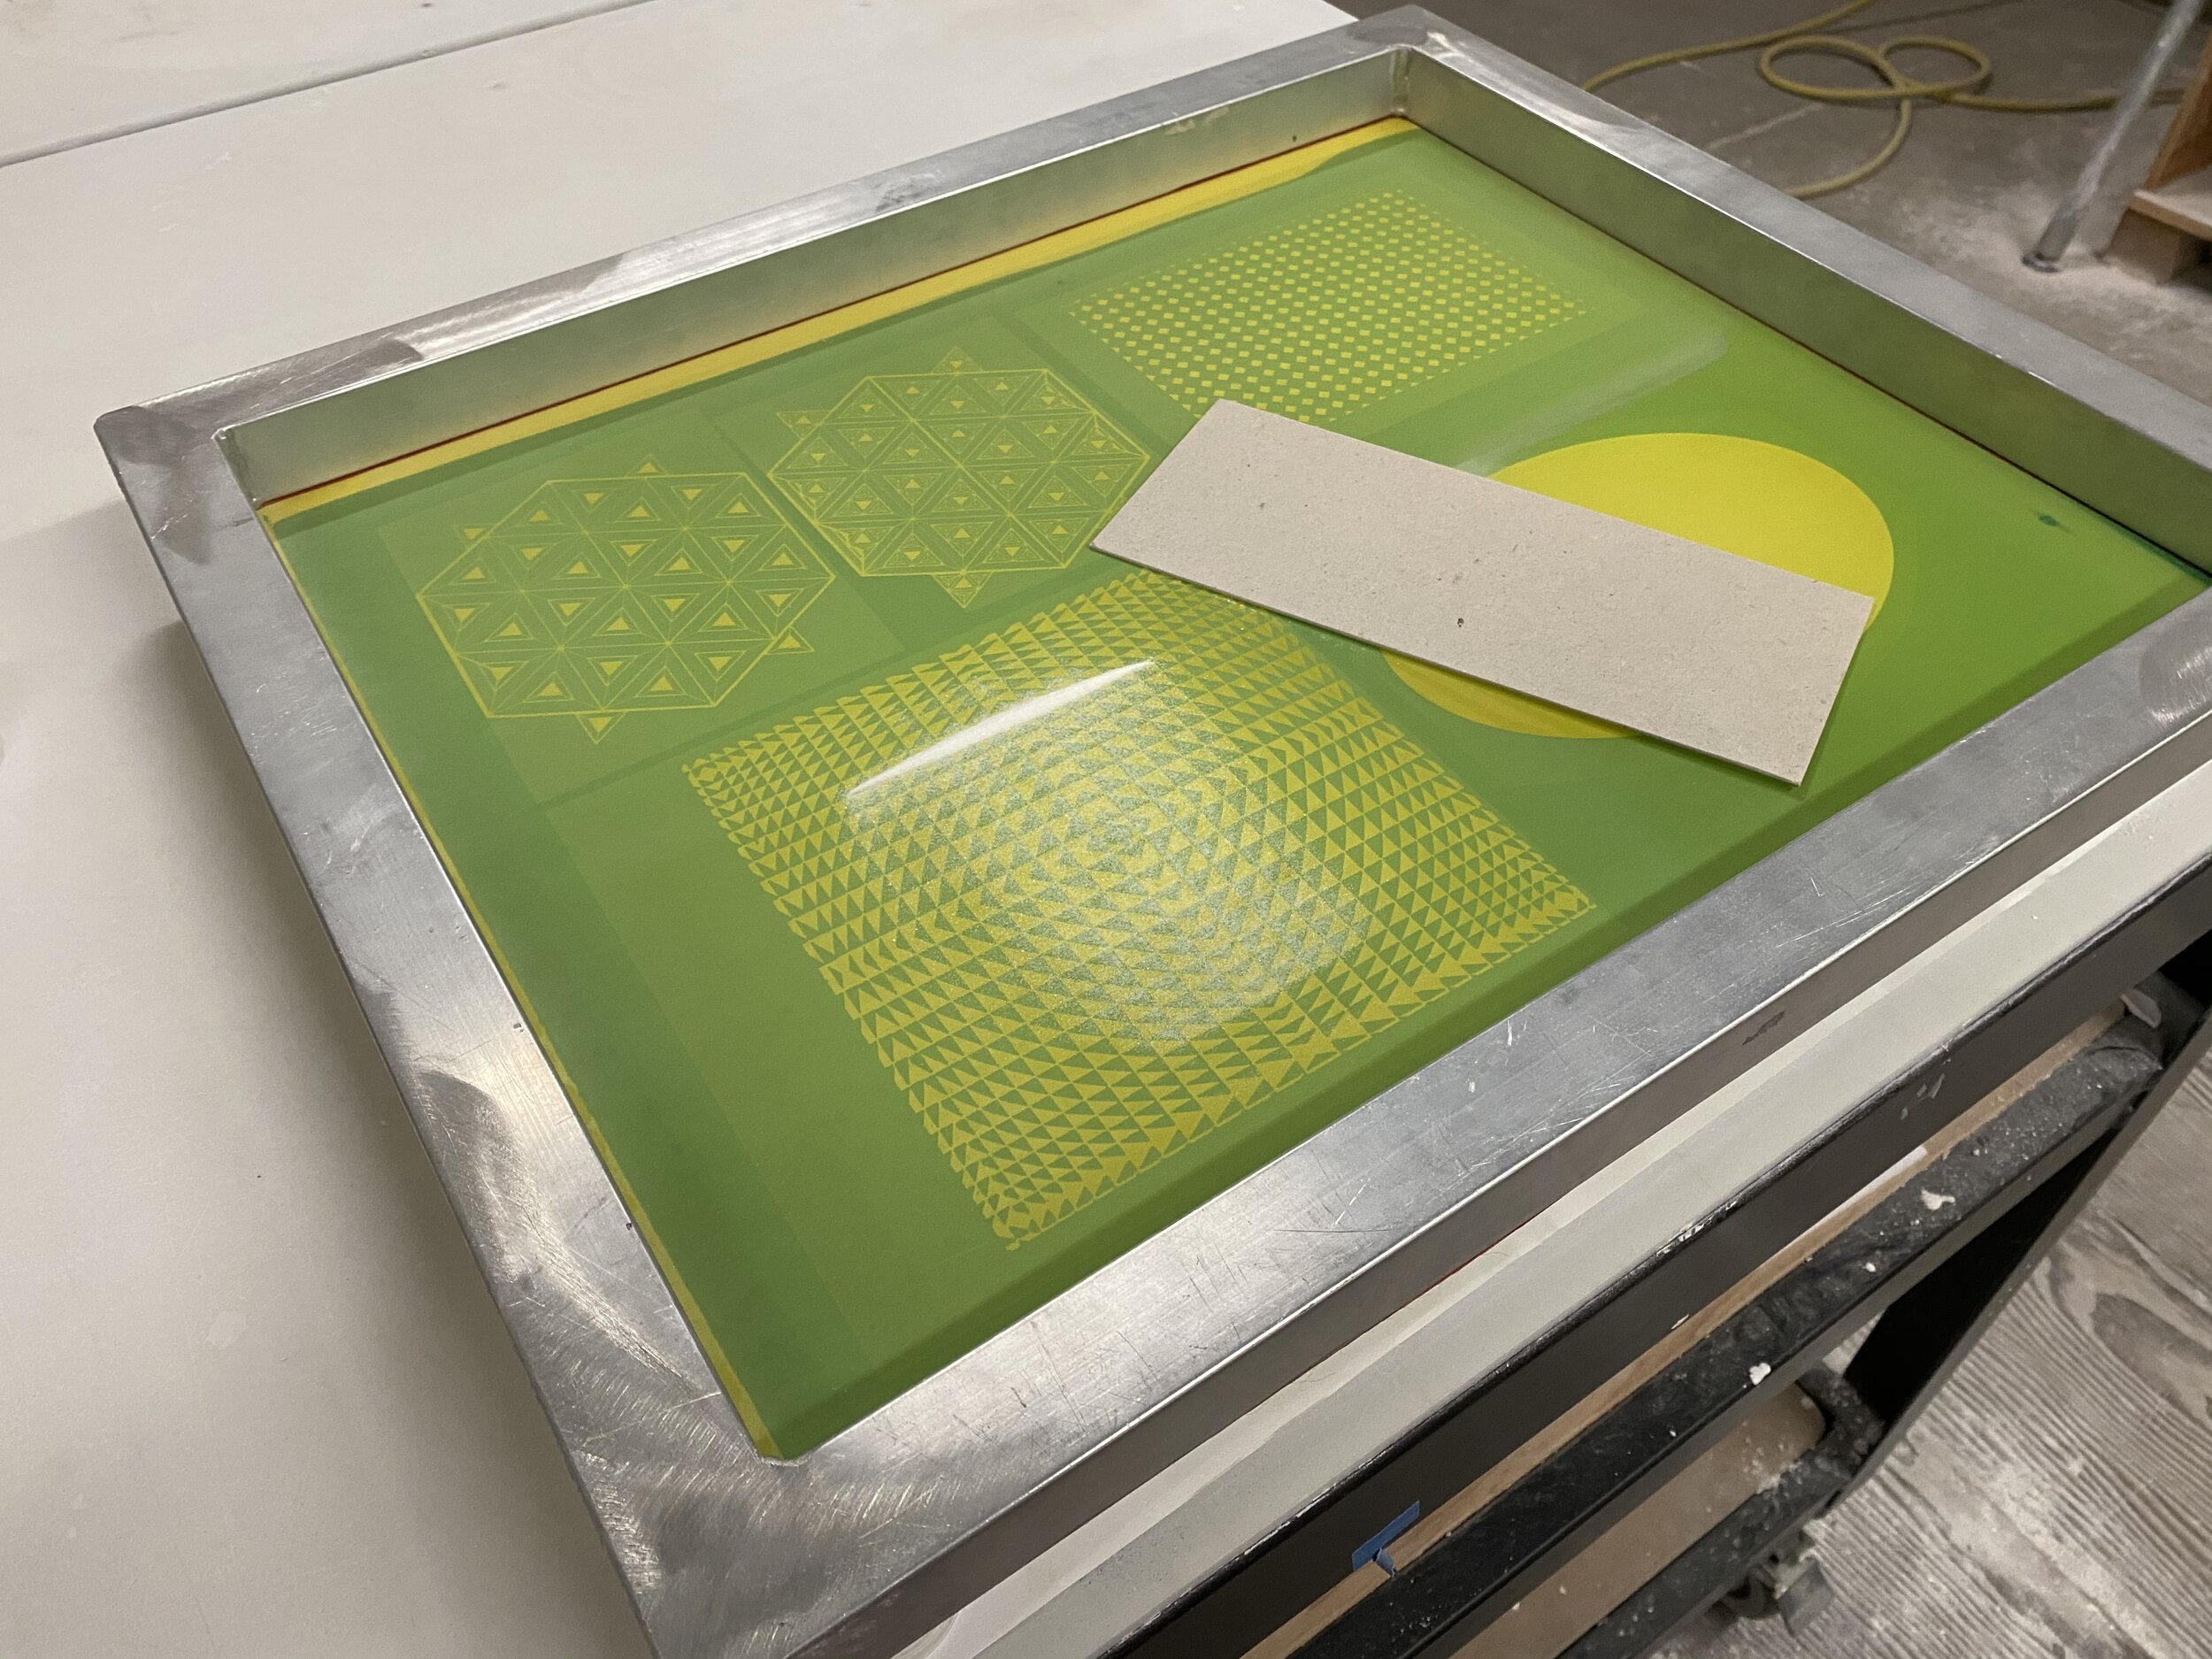
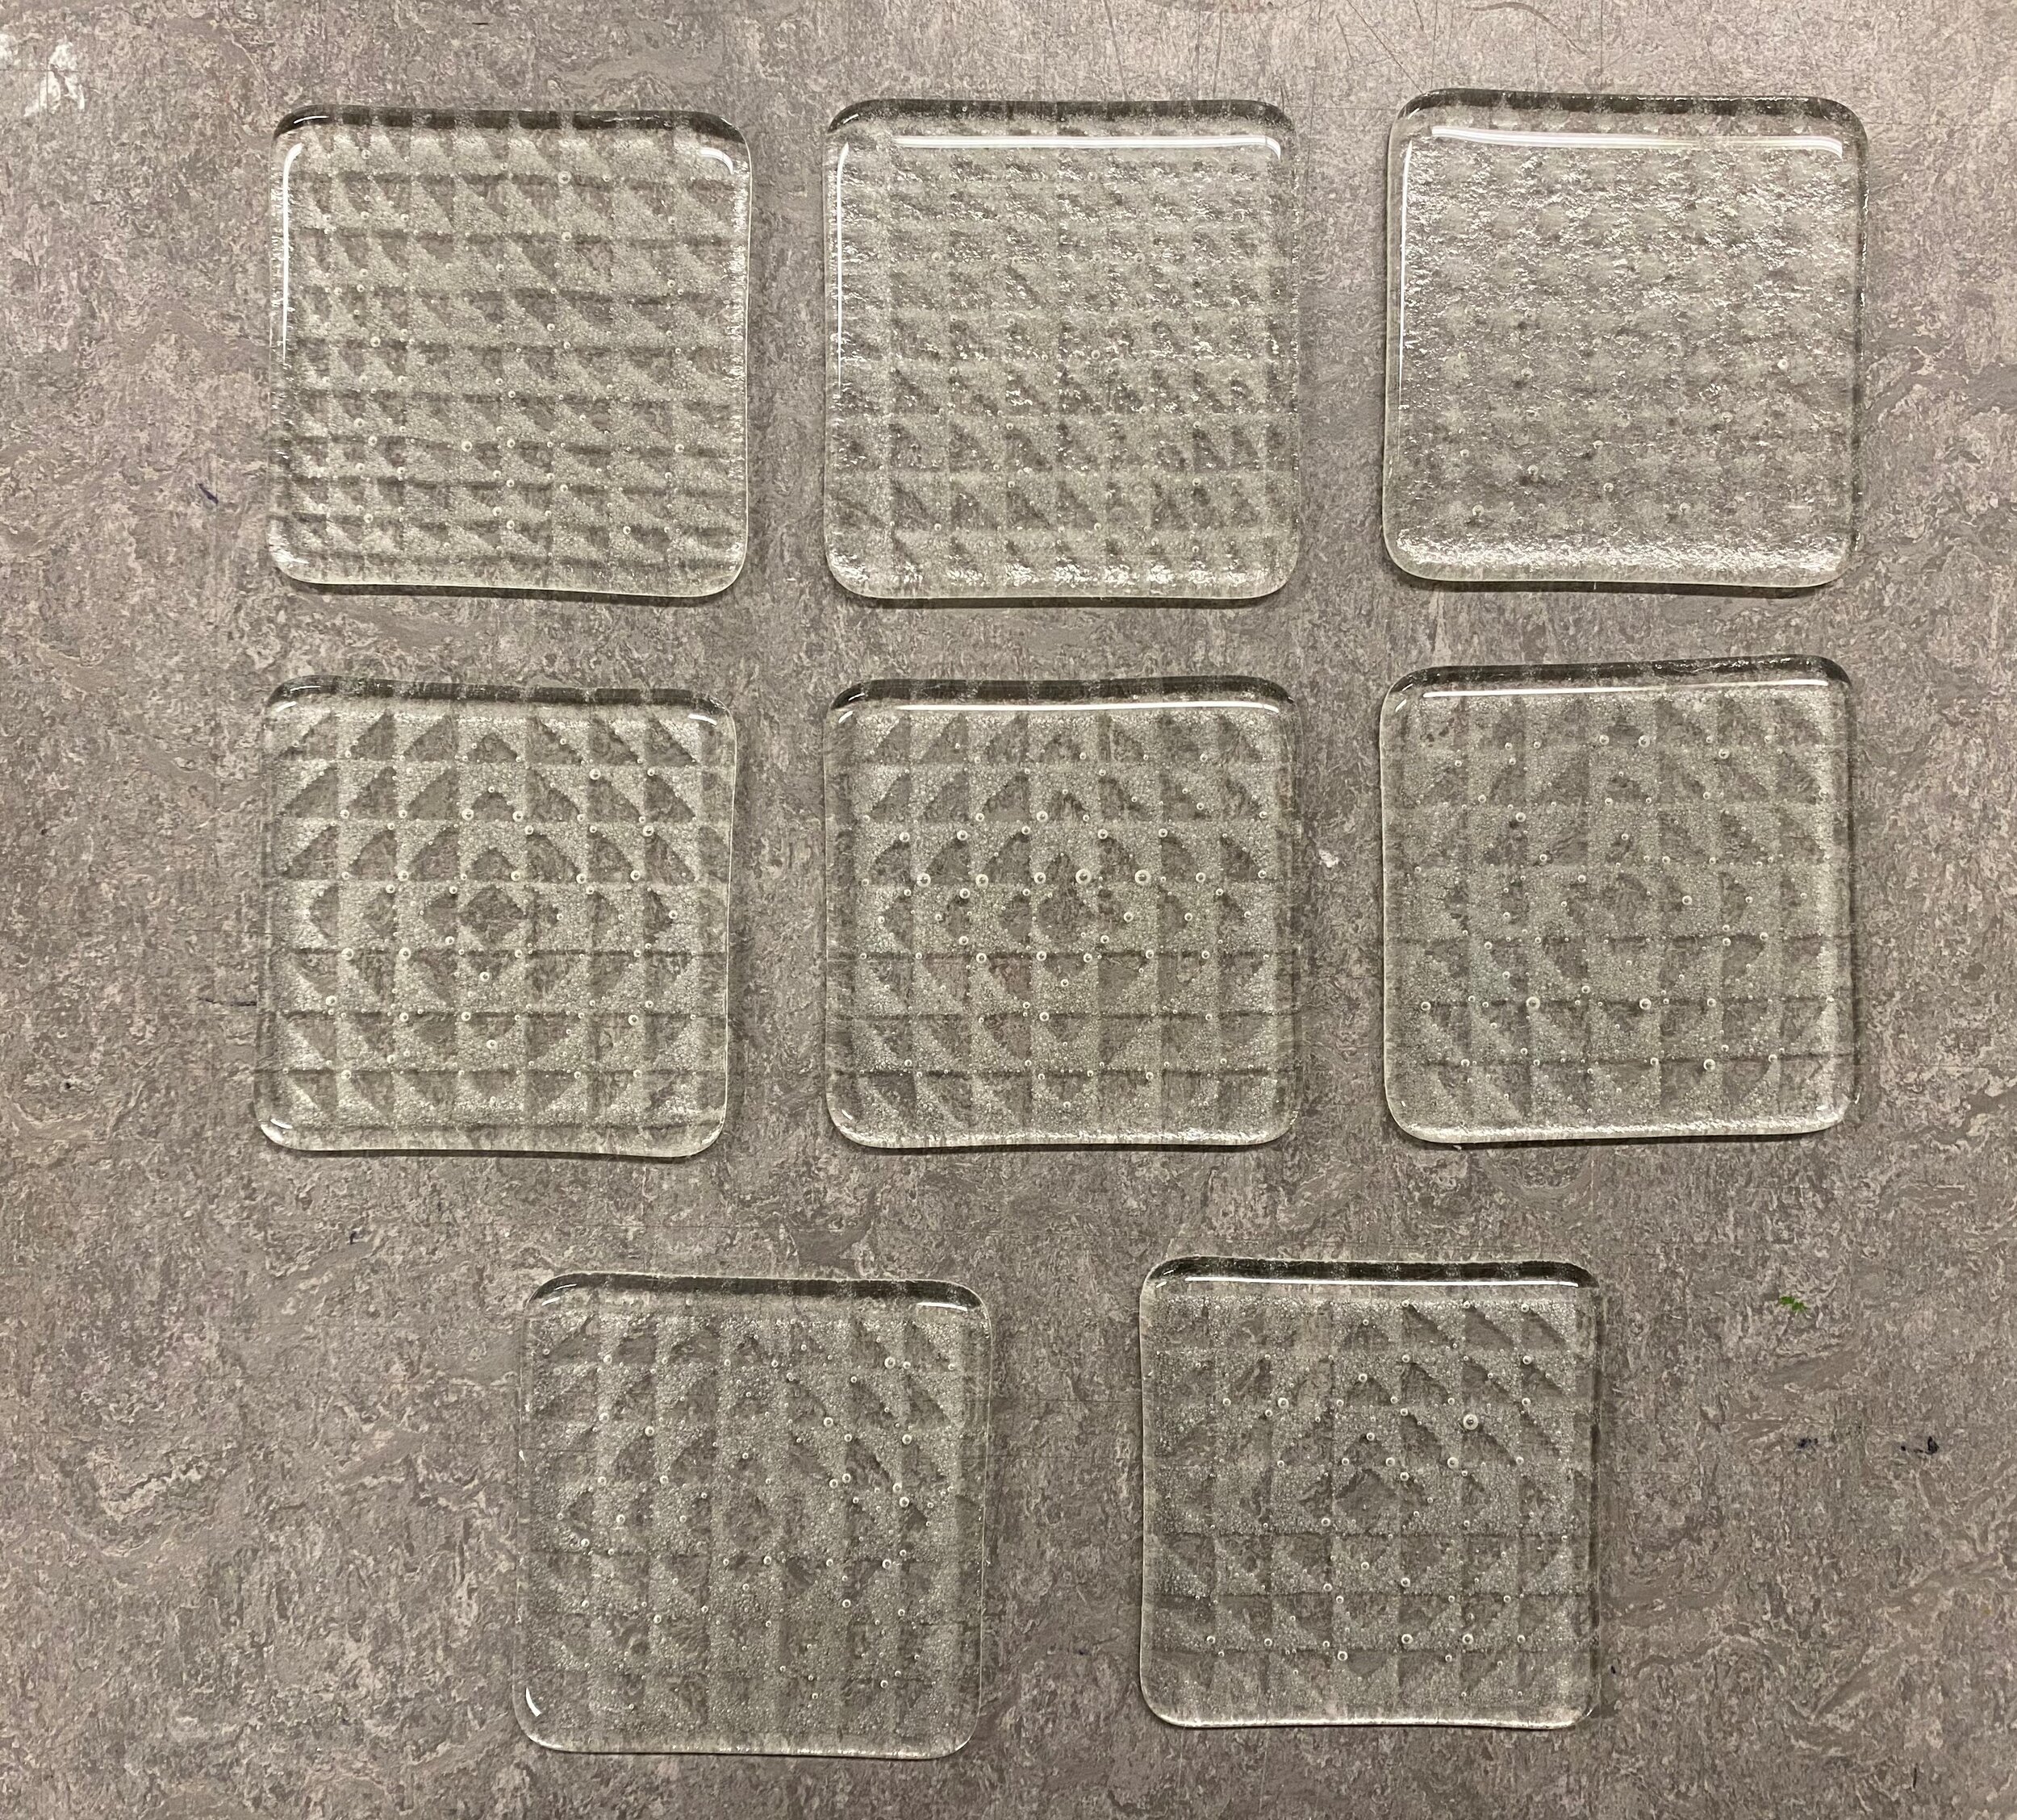
Below in the images you see from left to right:
My powder printing setup.
The freshly printed powder before the clear cap was placed on top.
The fully fused prints with the lights on.
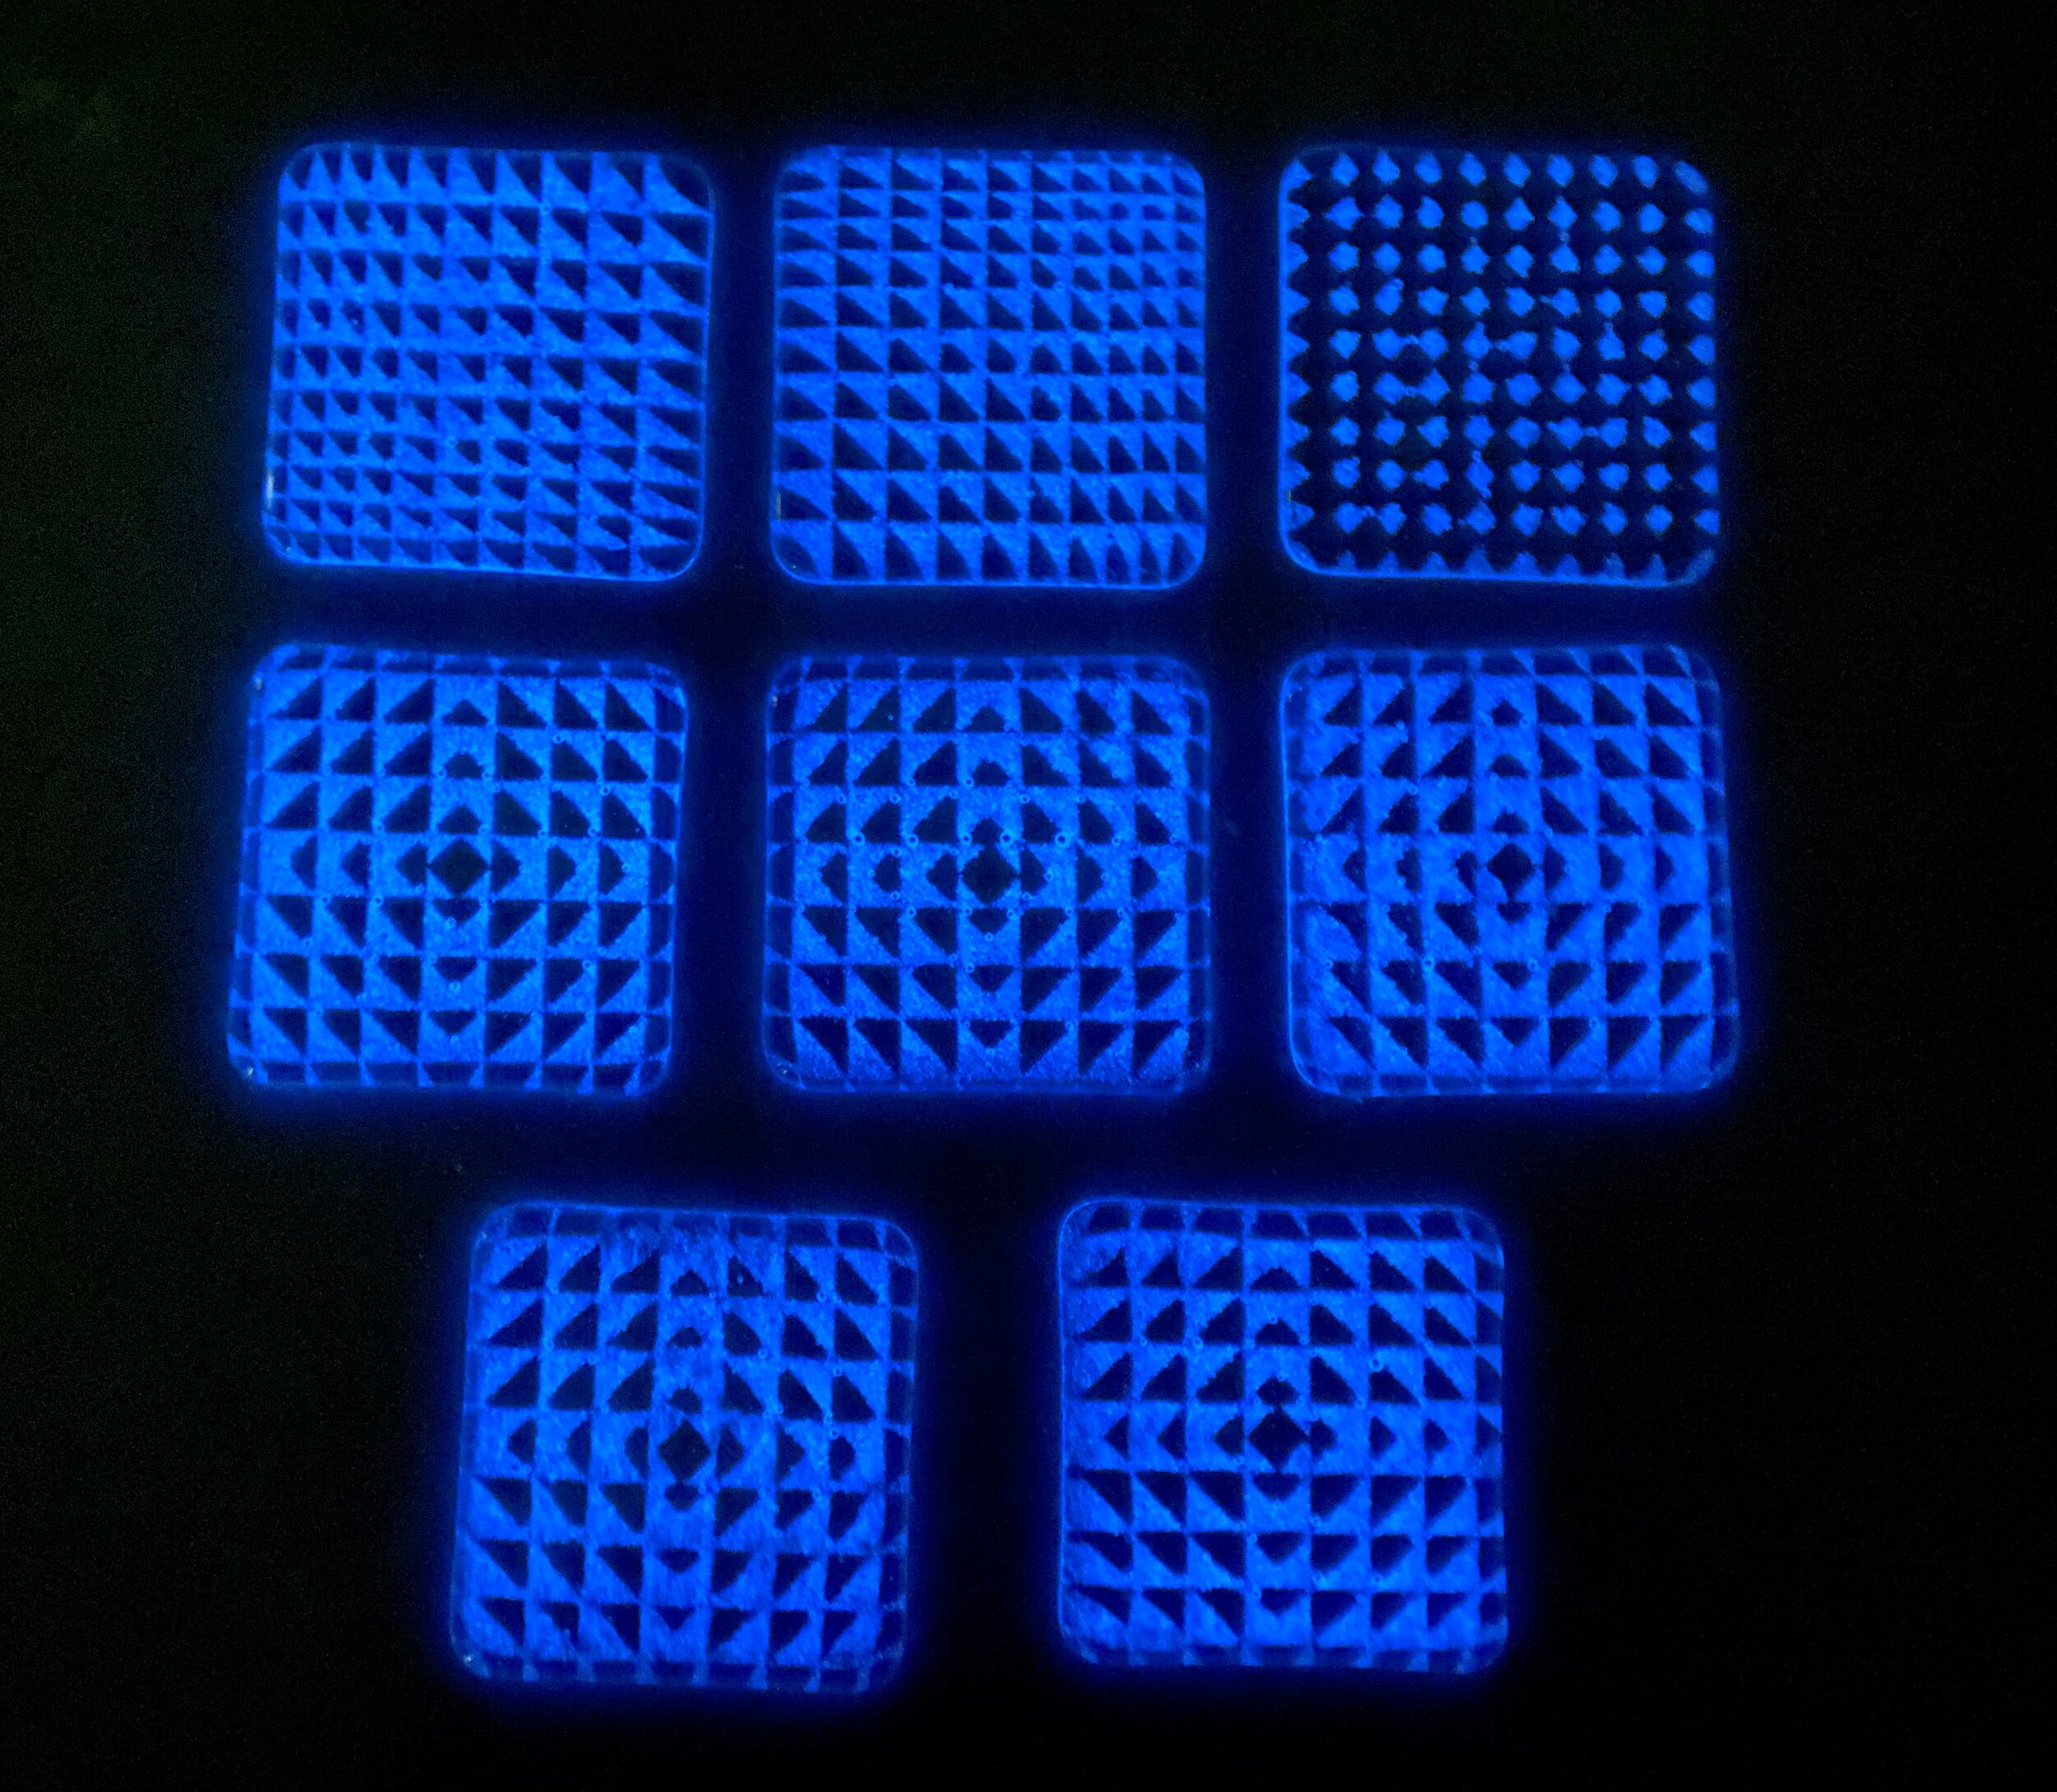
The fully fused prints with the lights off! Woo! This is the BLUE glow mixed with clear glass powder.

Here is a closeup of the powder print with glow powder. You can see how some bigger bubbles were trapped within the open areas. These bubbles are small enough that they do not cause a surface disruption but the do create some distortion of the image.

Natural color of the glow powder. It is hard to tell in the photo but this print has quite a large bubble on the left side of the image that causes a major surface disruption.

This is the AQUA glow powder doing its thing.
The Enamel Printing Situation
After the success of powder printing I thought, “Hey, I could mix this in with enamel paste and print the glow that way!”. This does not work unless you are enamel printing with a low mesh count. Traditionally in powder printing we use a 137 mesh count which is open enough to allow the powder to pass through. Enamel printing typically uses a higher mesh count (around 230) and therefore a tighter weave that does not allow the powder to come through. You certainly can do an enamel print on a lower mesh screen (the lower the mesh count the bigger the holes are in the screen) but you compromise resolution. The lower the mesh, the lower the resolution, and less detail is possible. The image I was printing is highly detailed so I was not willing to compromise my resolution. Determined to get the glow I tried printing white enamel and sifting glow powder on top while the ink was still wet. It looked great but even after the enamel was sintered (a firing which allows the image to sink into the surface and become permanent) the glow powder still rubbed off. I sifted some clear powder on top to try and seal it in, fused again, and still the glow powder rubbed off. I capped it with clear and it trapped a bunch of bubbles. Bubbles aren’t necessarily a bad thing but since I was printing a finely detailed constellation chart it created too much distortion of the visual information. So for me this aspect of working with glow powder is simply not worth it UNLESS I have different goals for the application.
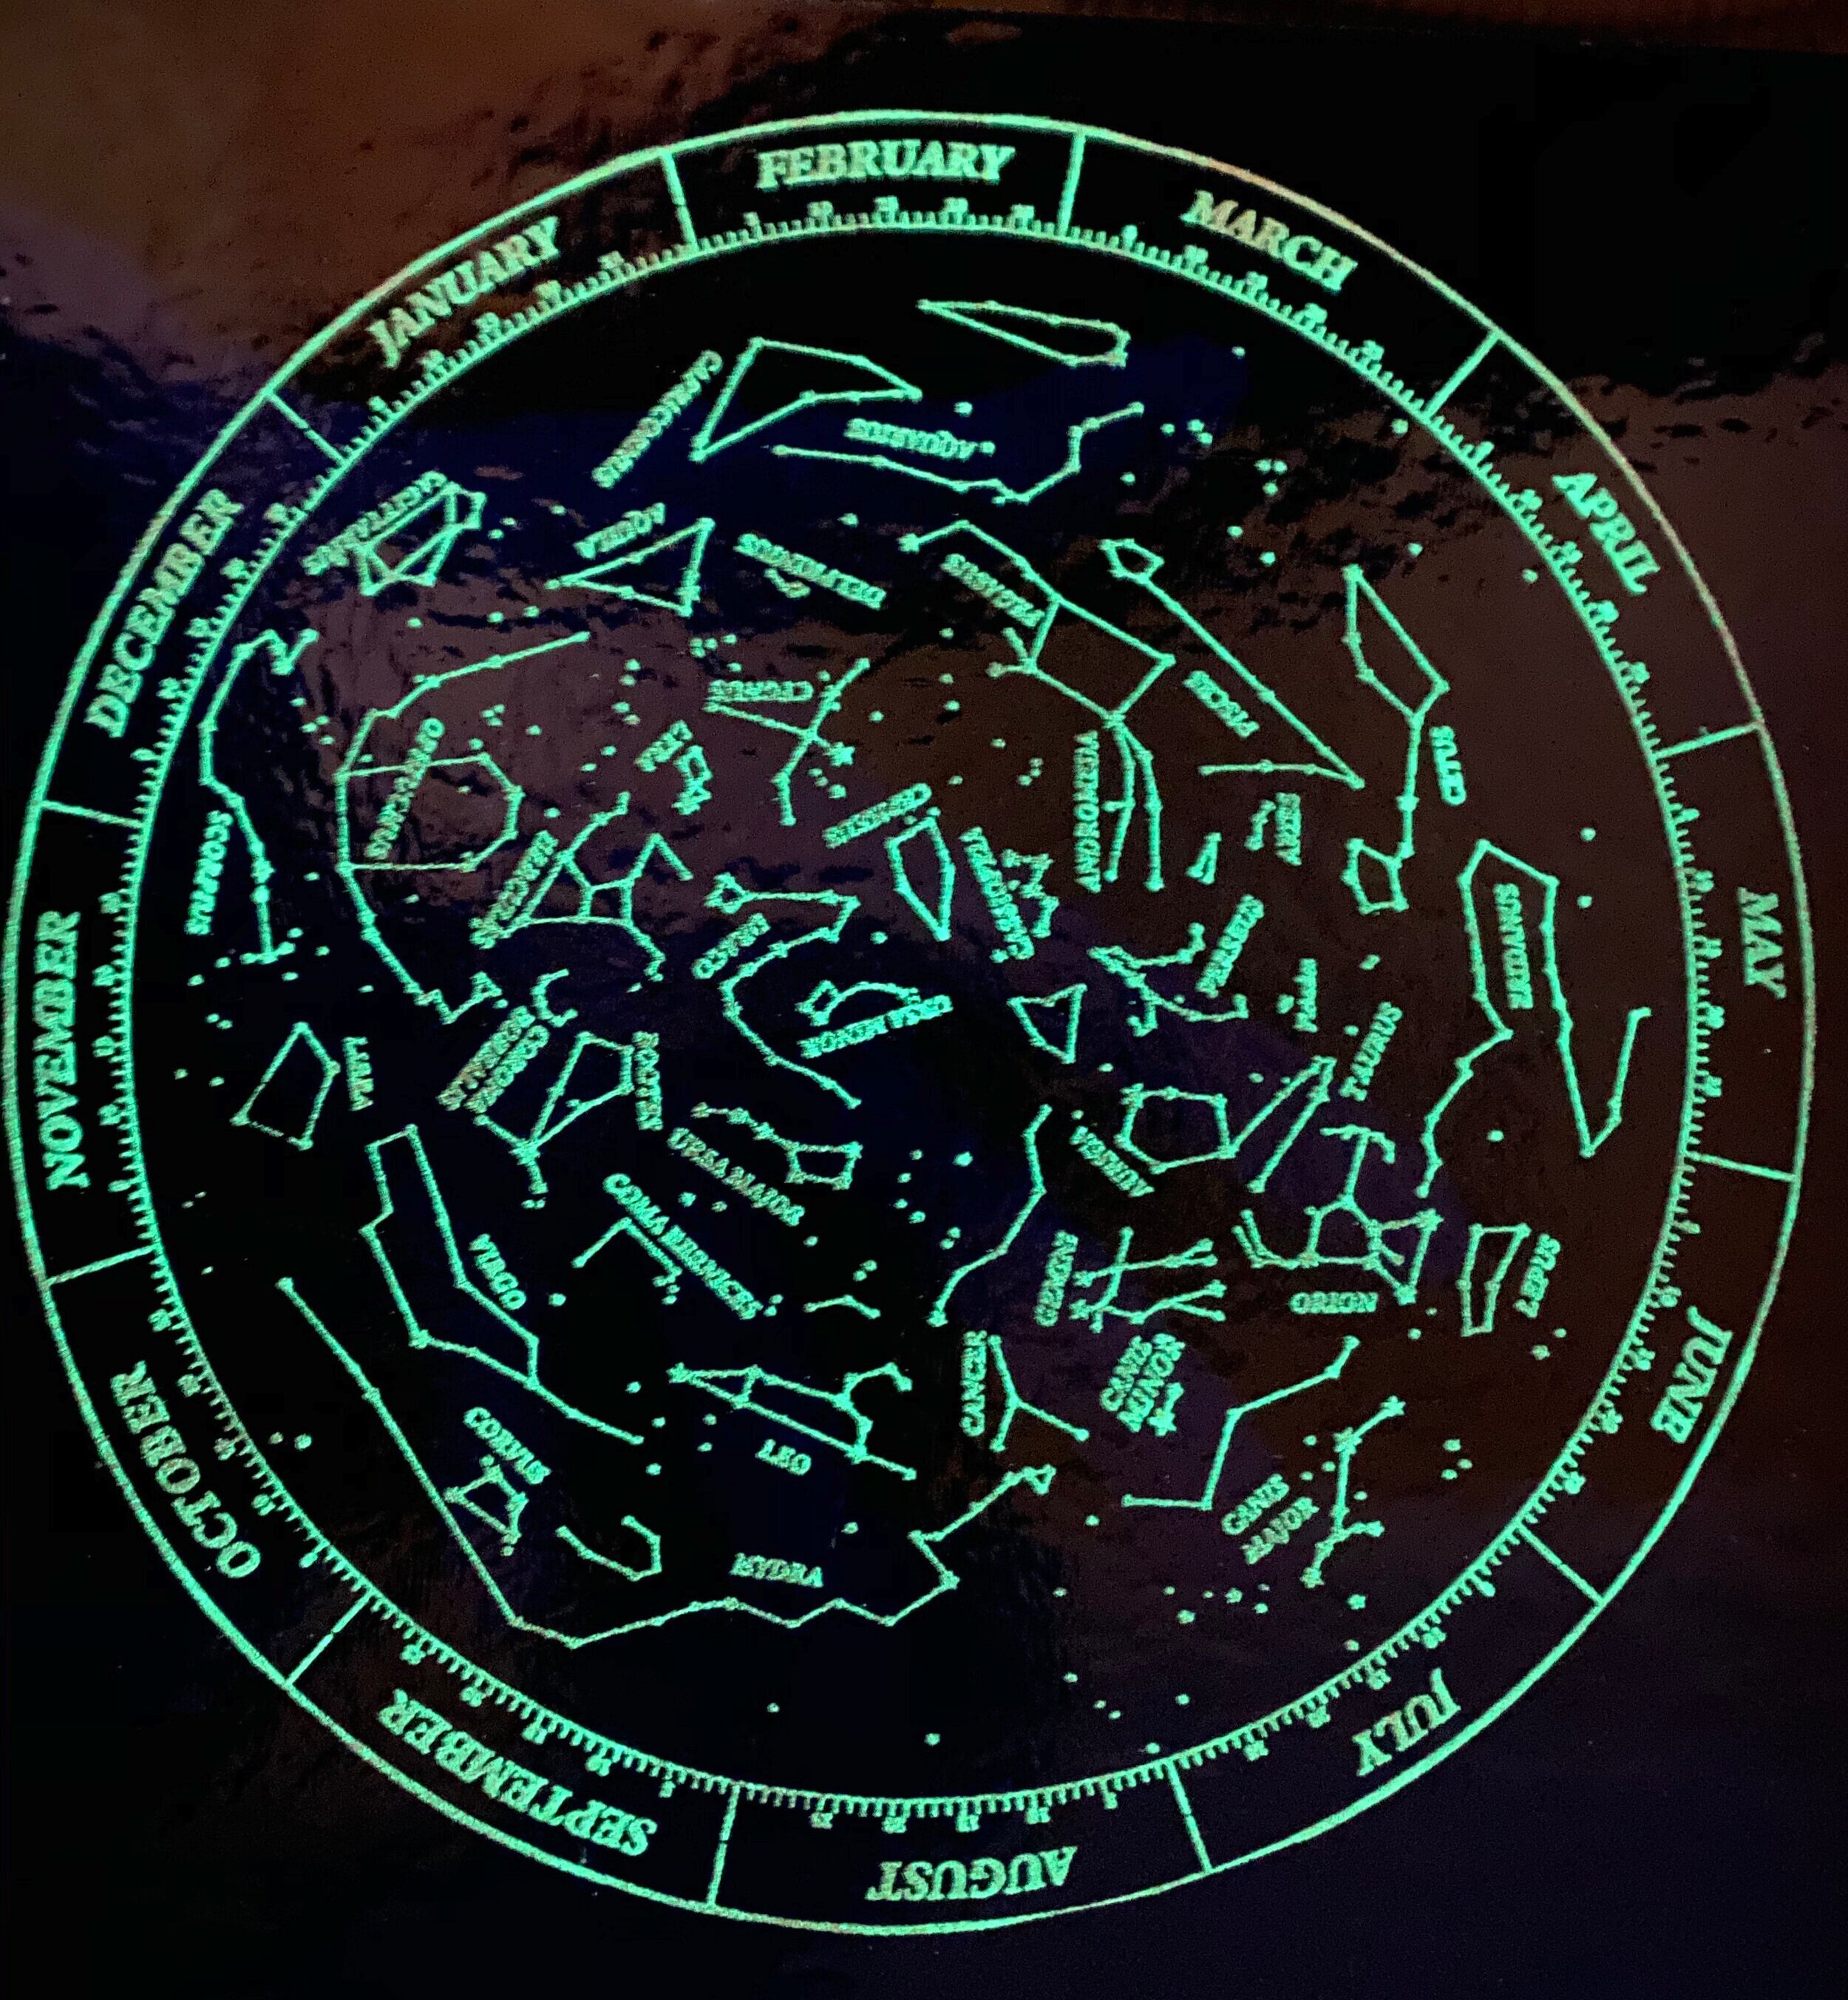
Really cool but not worth it IMO.
Lets get 3D
Something really fun to try is to combine glow powder with the Glass Modeling Medium (this IS sold at Bullseye) so you can sculpt it like play dough and make fun shapes. I then embed these shapes in castings or tack fuse them onto sheet glass. Working with the modeling glass is a process within itself which I will not get into because Lois Manno is the expert. She is the creator of the modeling medium and has a book of techniques and projects. All of this can be found on her website linked above.
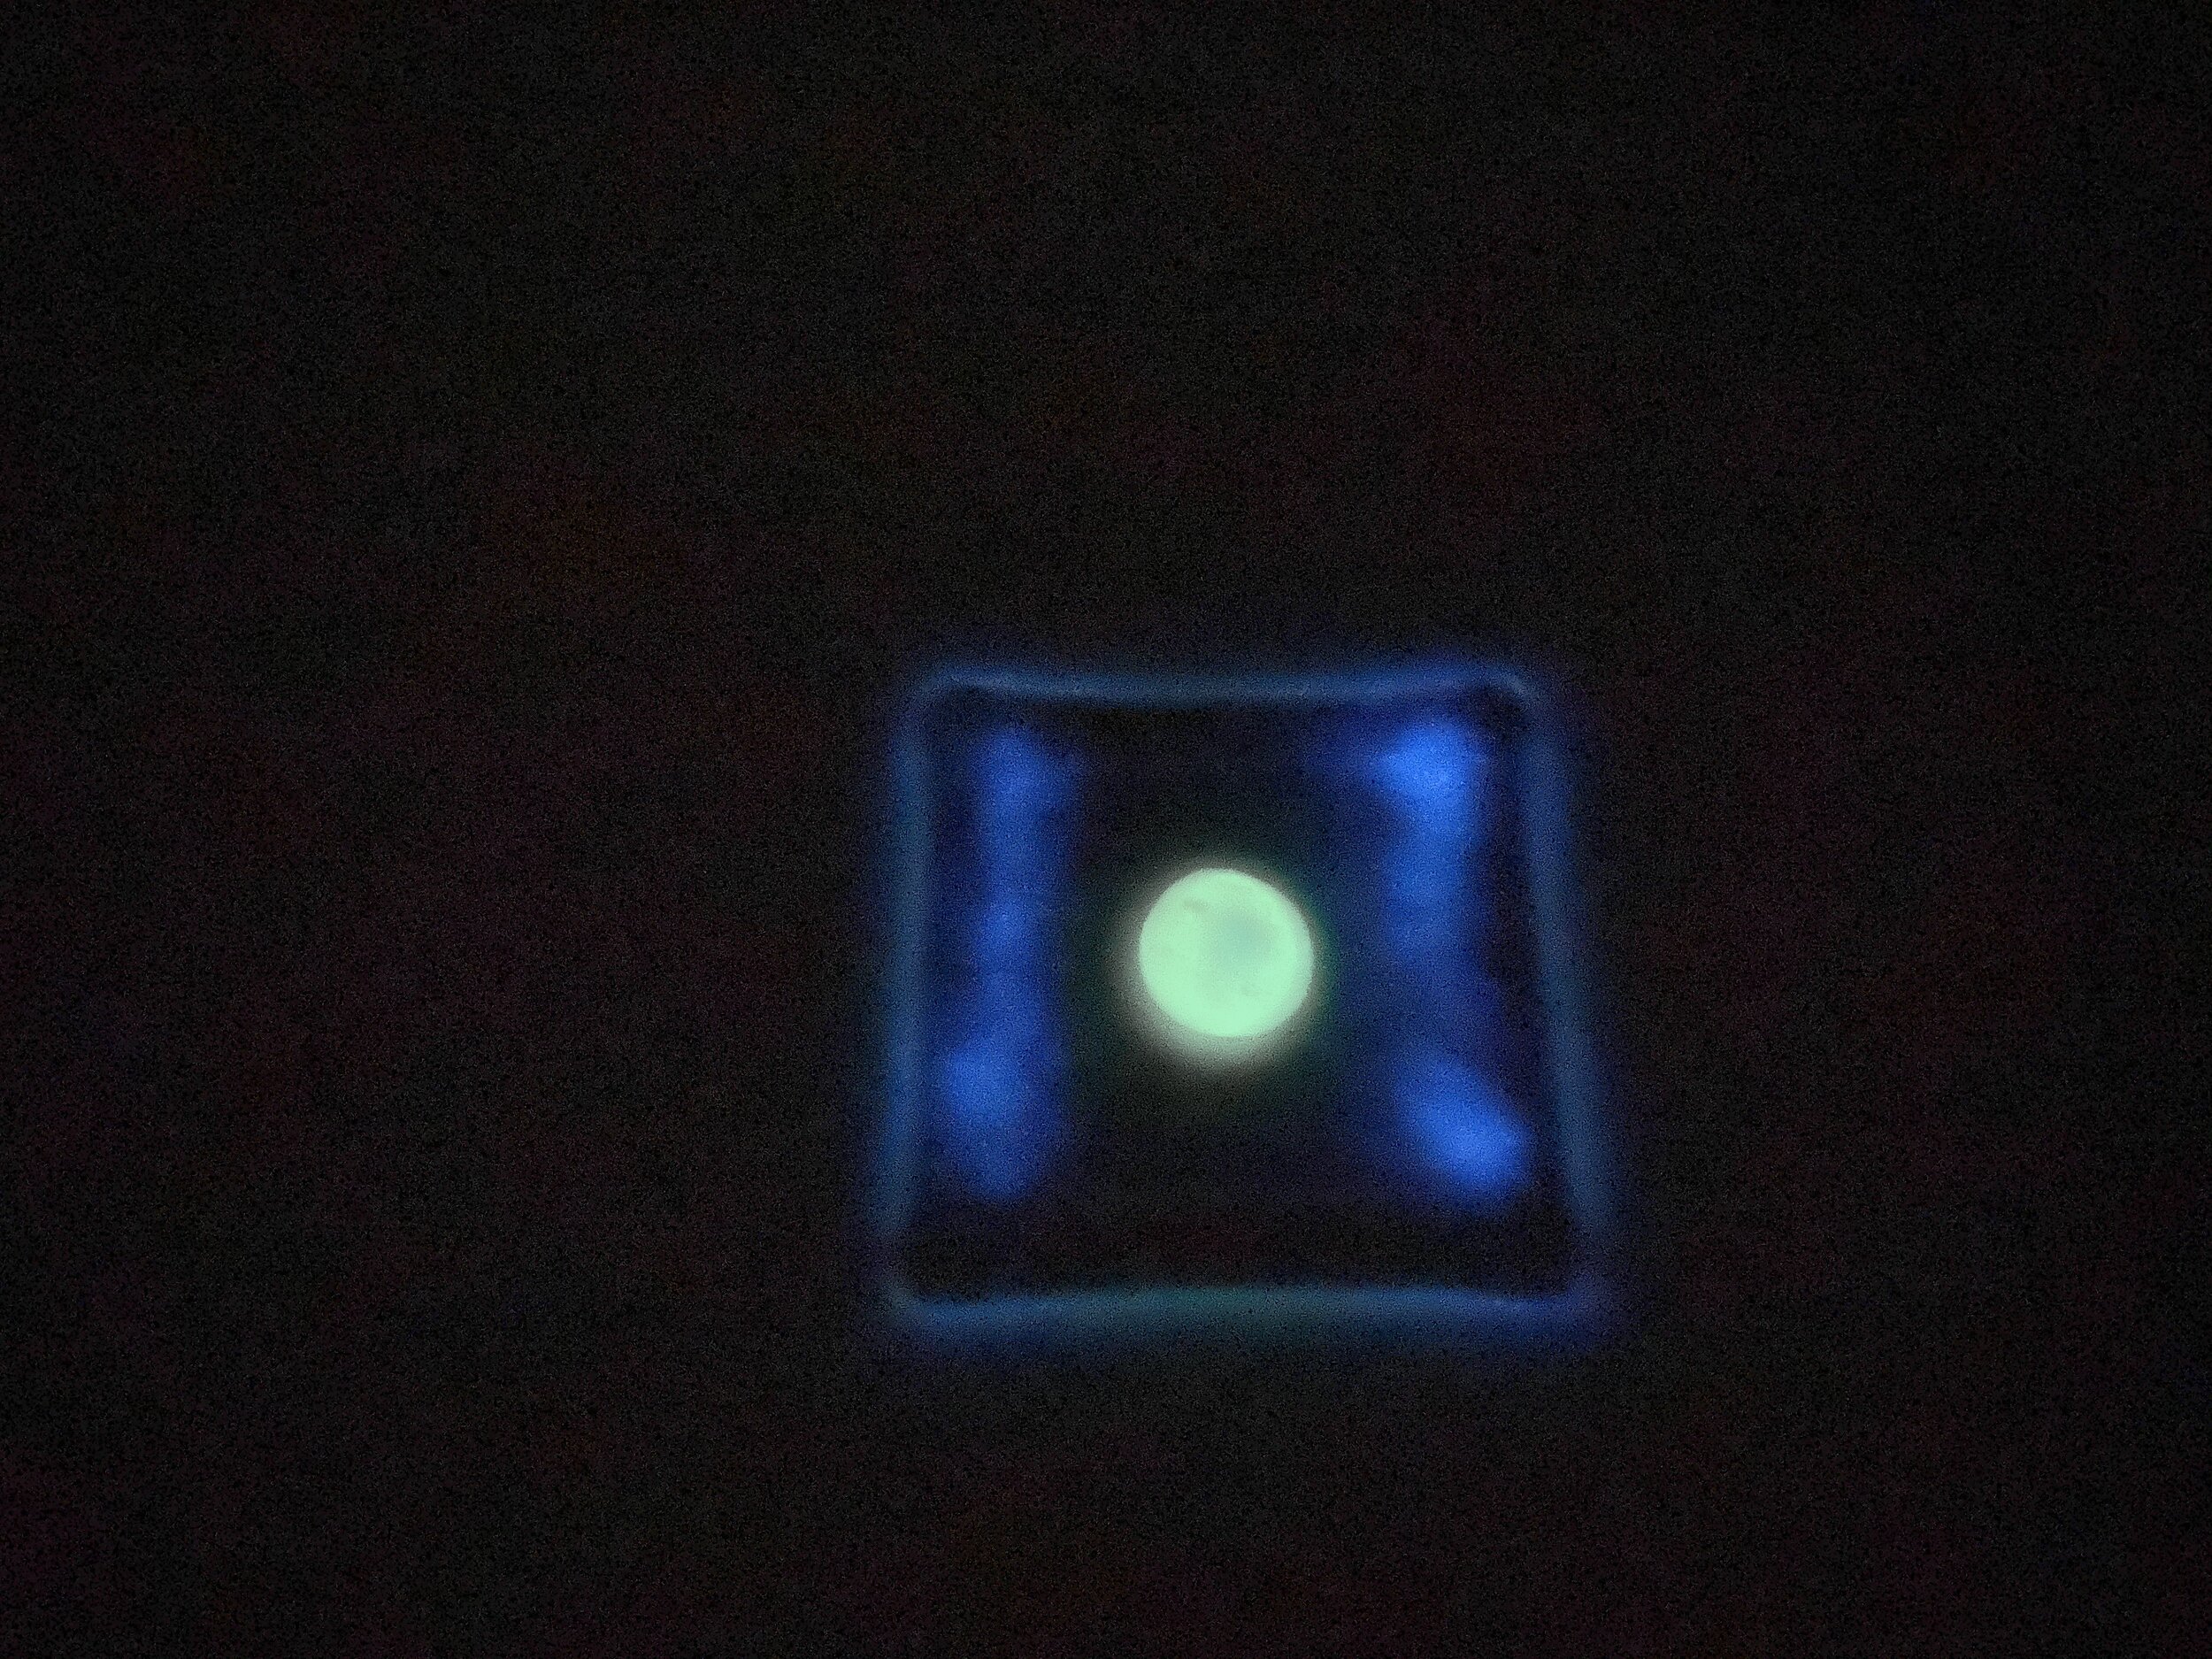
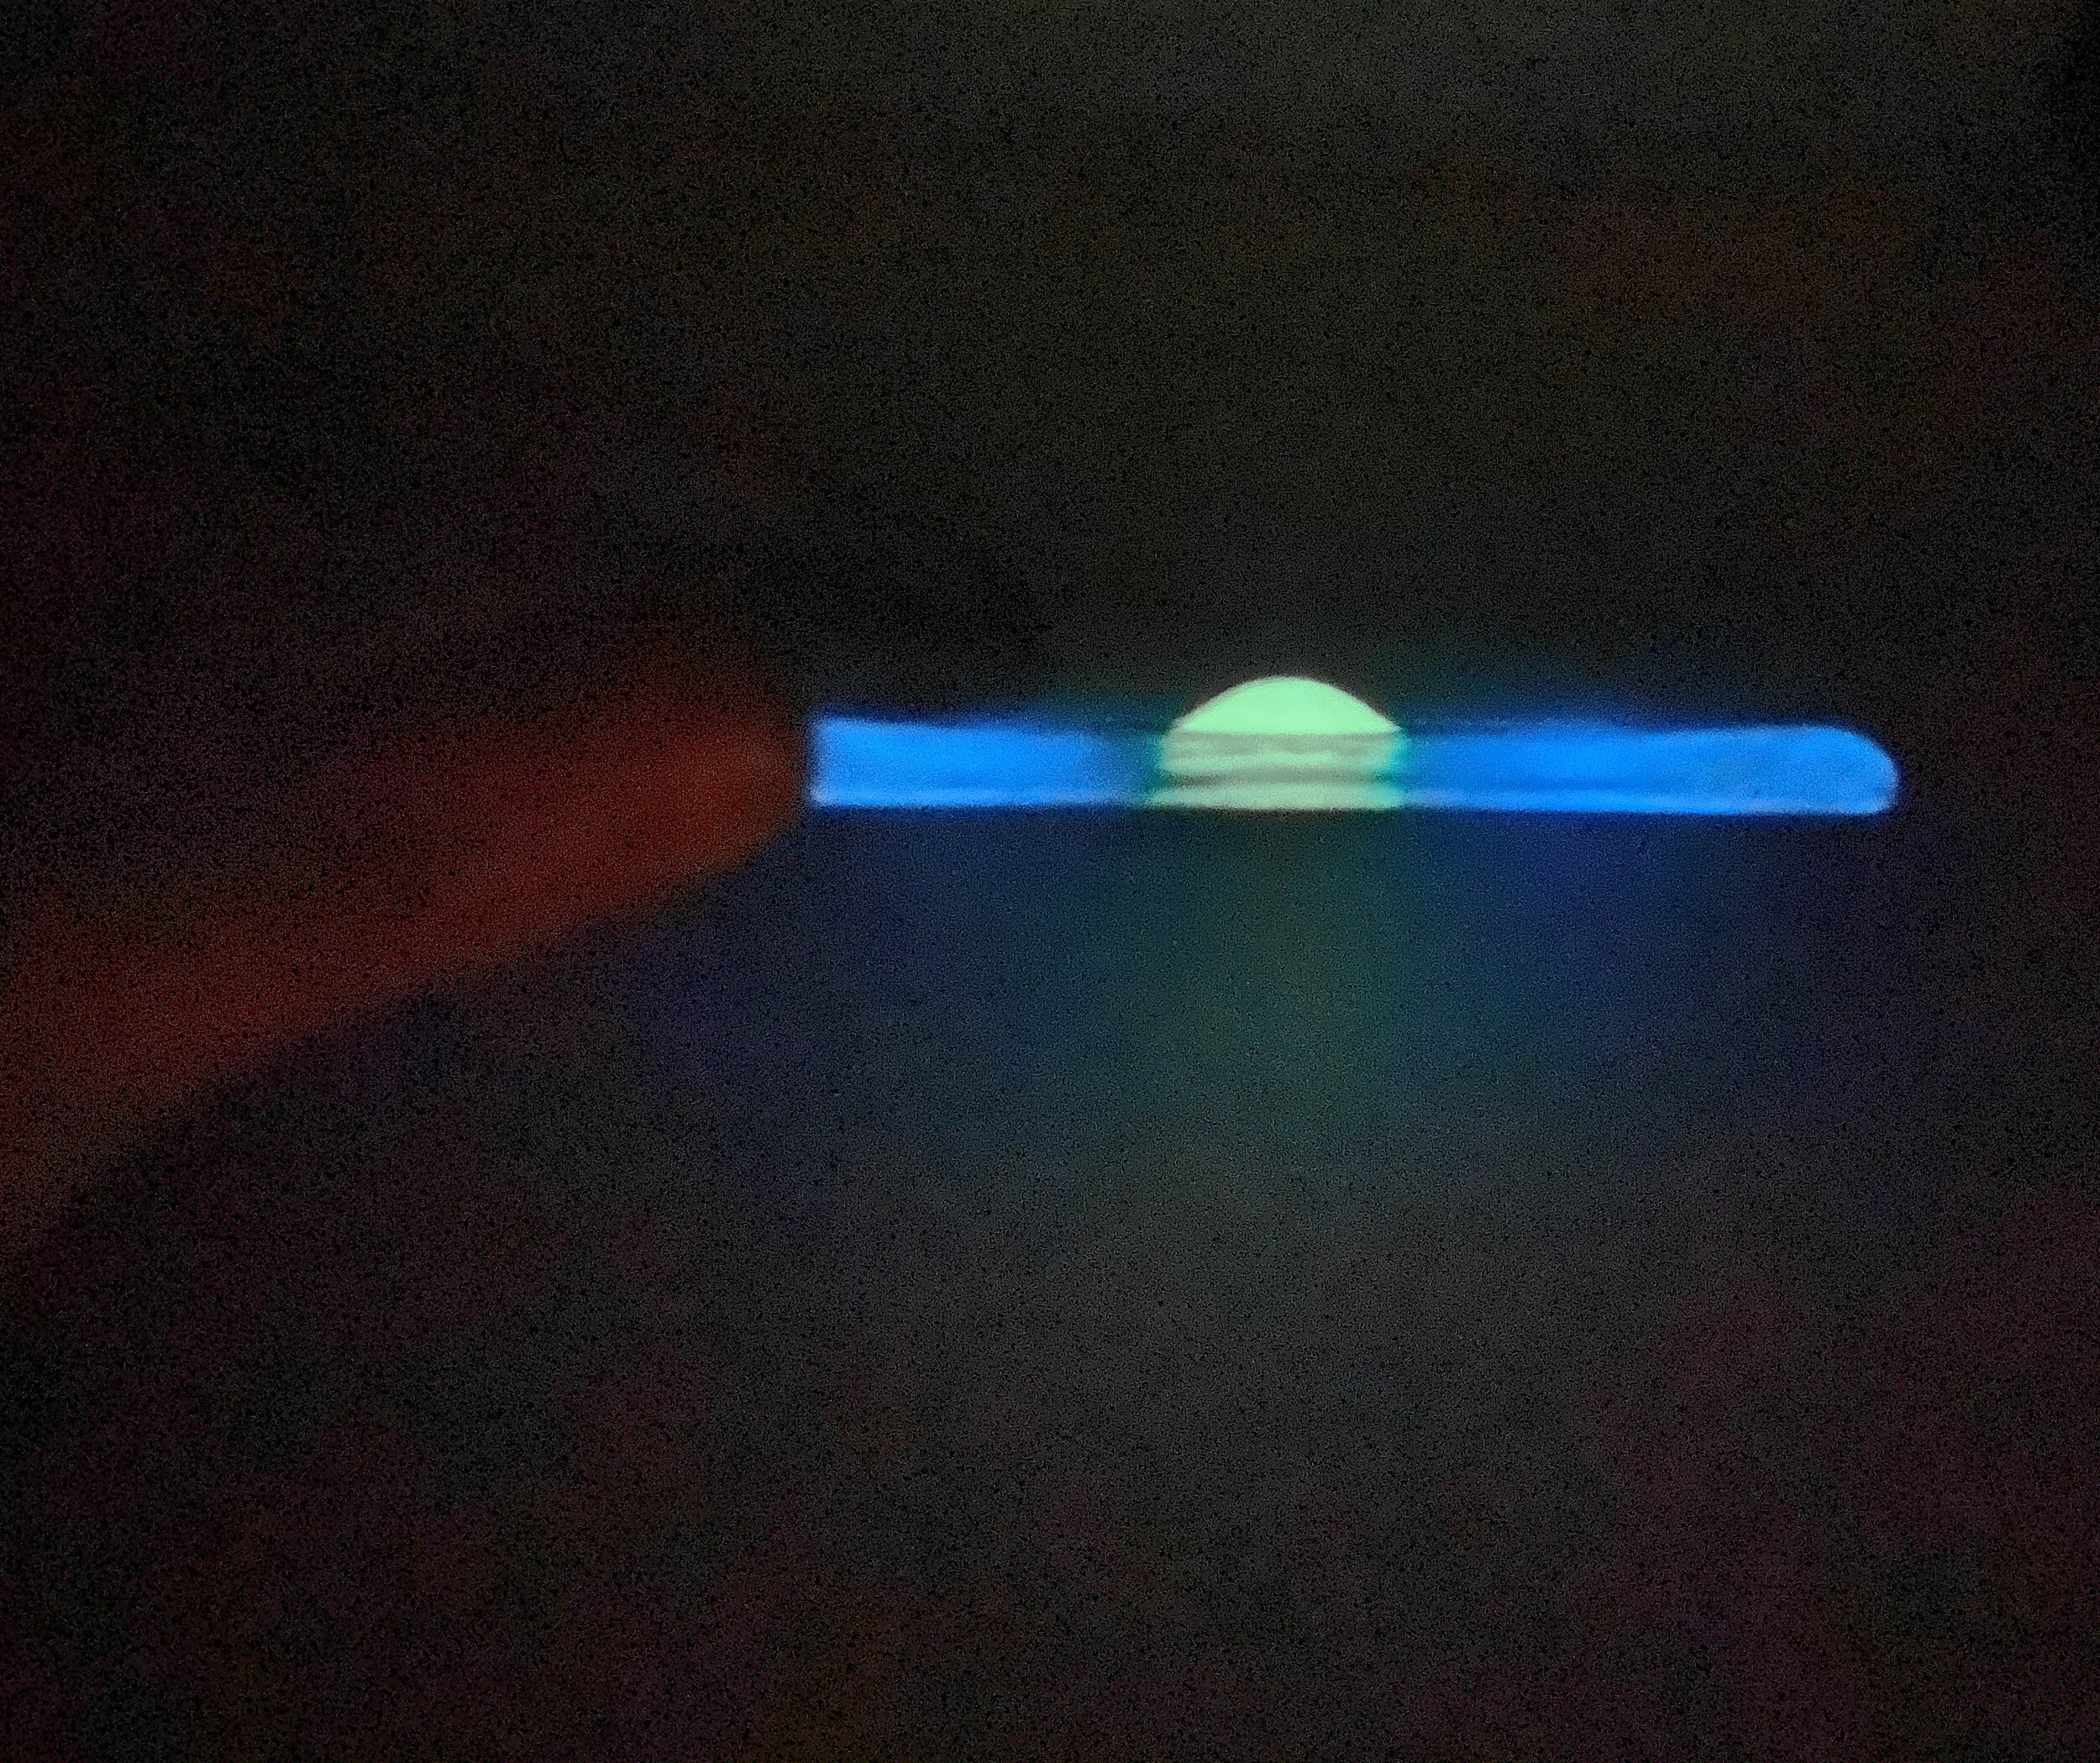
Images below described from left to right:
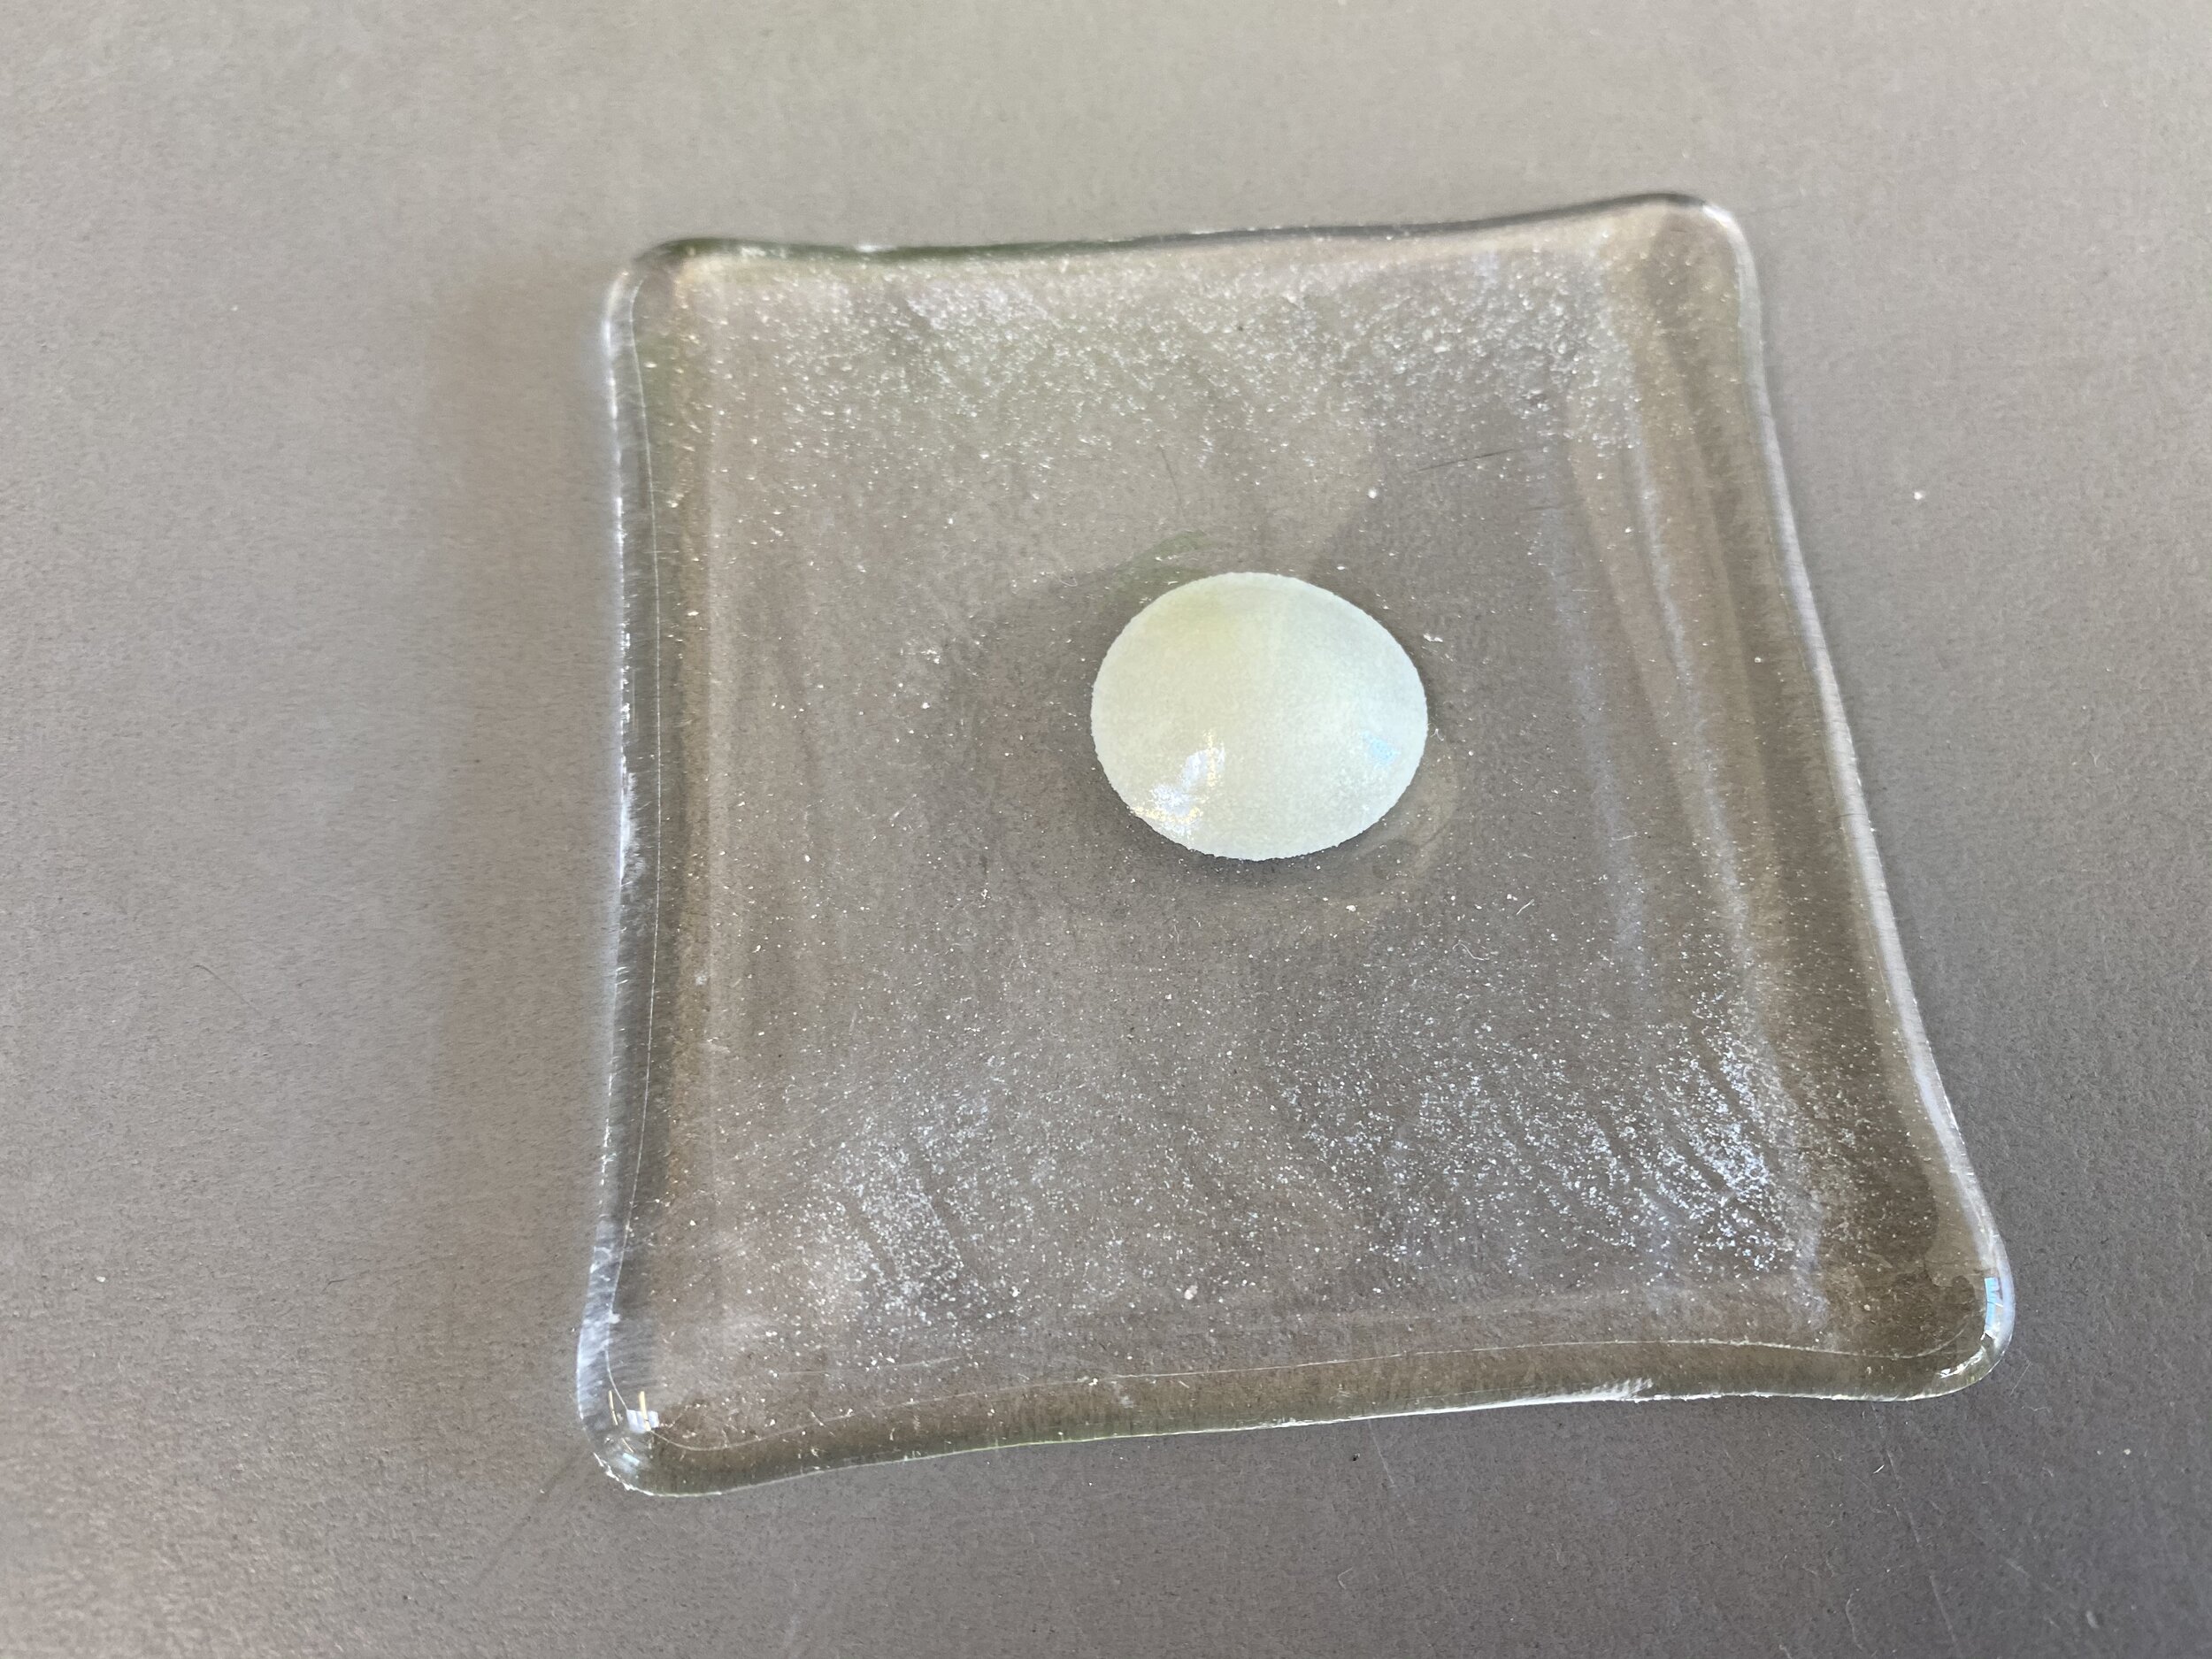
In the daylight - an experiment with a sphere of fused modeling paste and some sgraffito designs on the surface. This is in part to test how the glow will run off over time. The sphere was made using the yellow glow powder.
Lights off! In the daylight the sgraffito designs are hardly perceptible and even in the dark my eye could not detect them but my iPhone did!
Here is a side view so you can see the dimension on the modeling paste sphere. I love the “fiber optic-like” quality achieved on the edges.
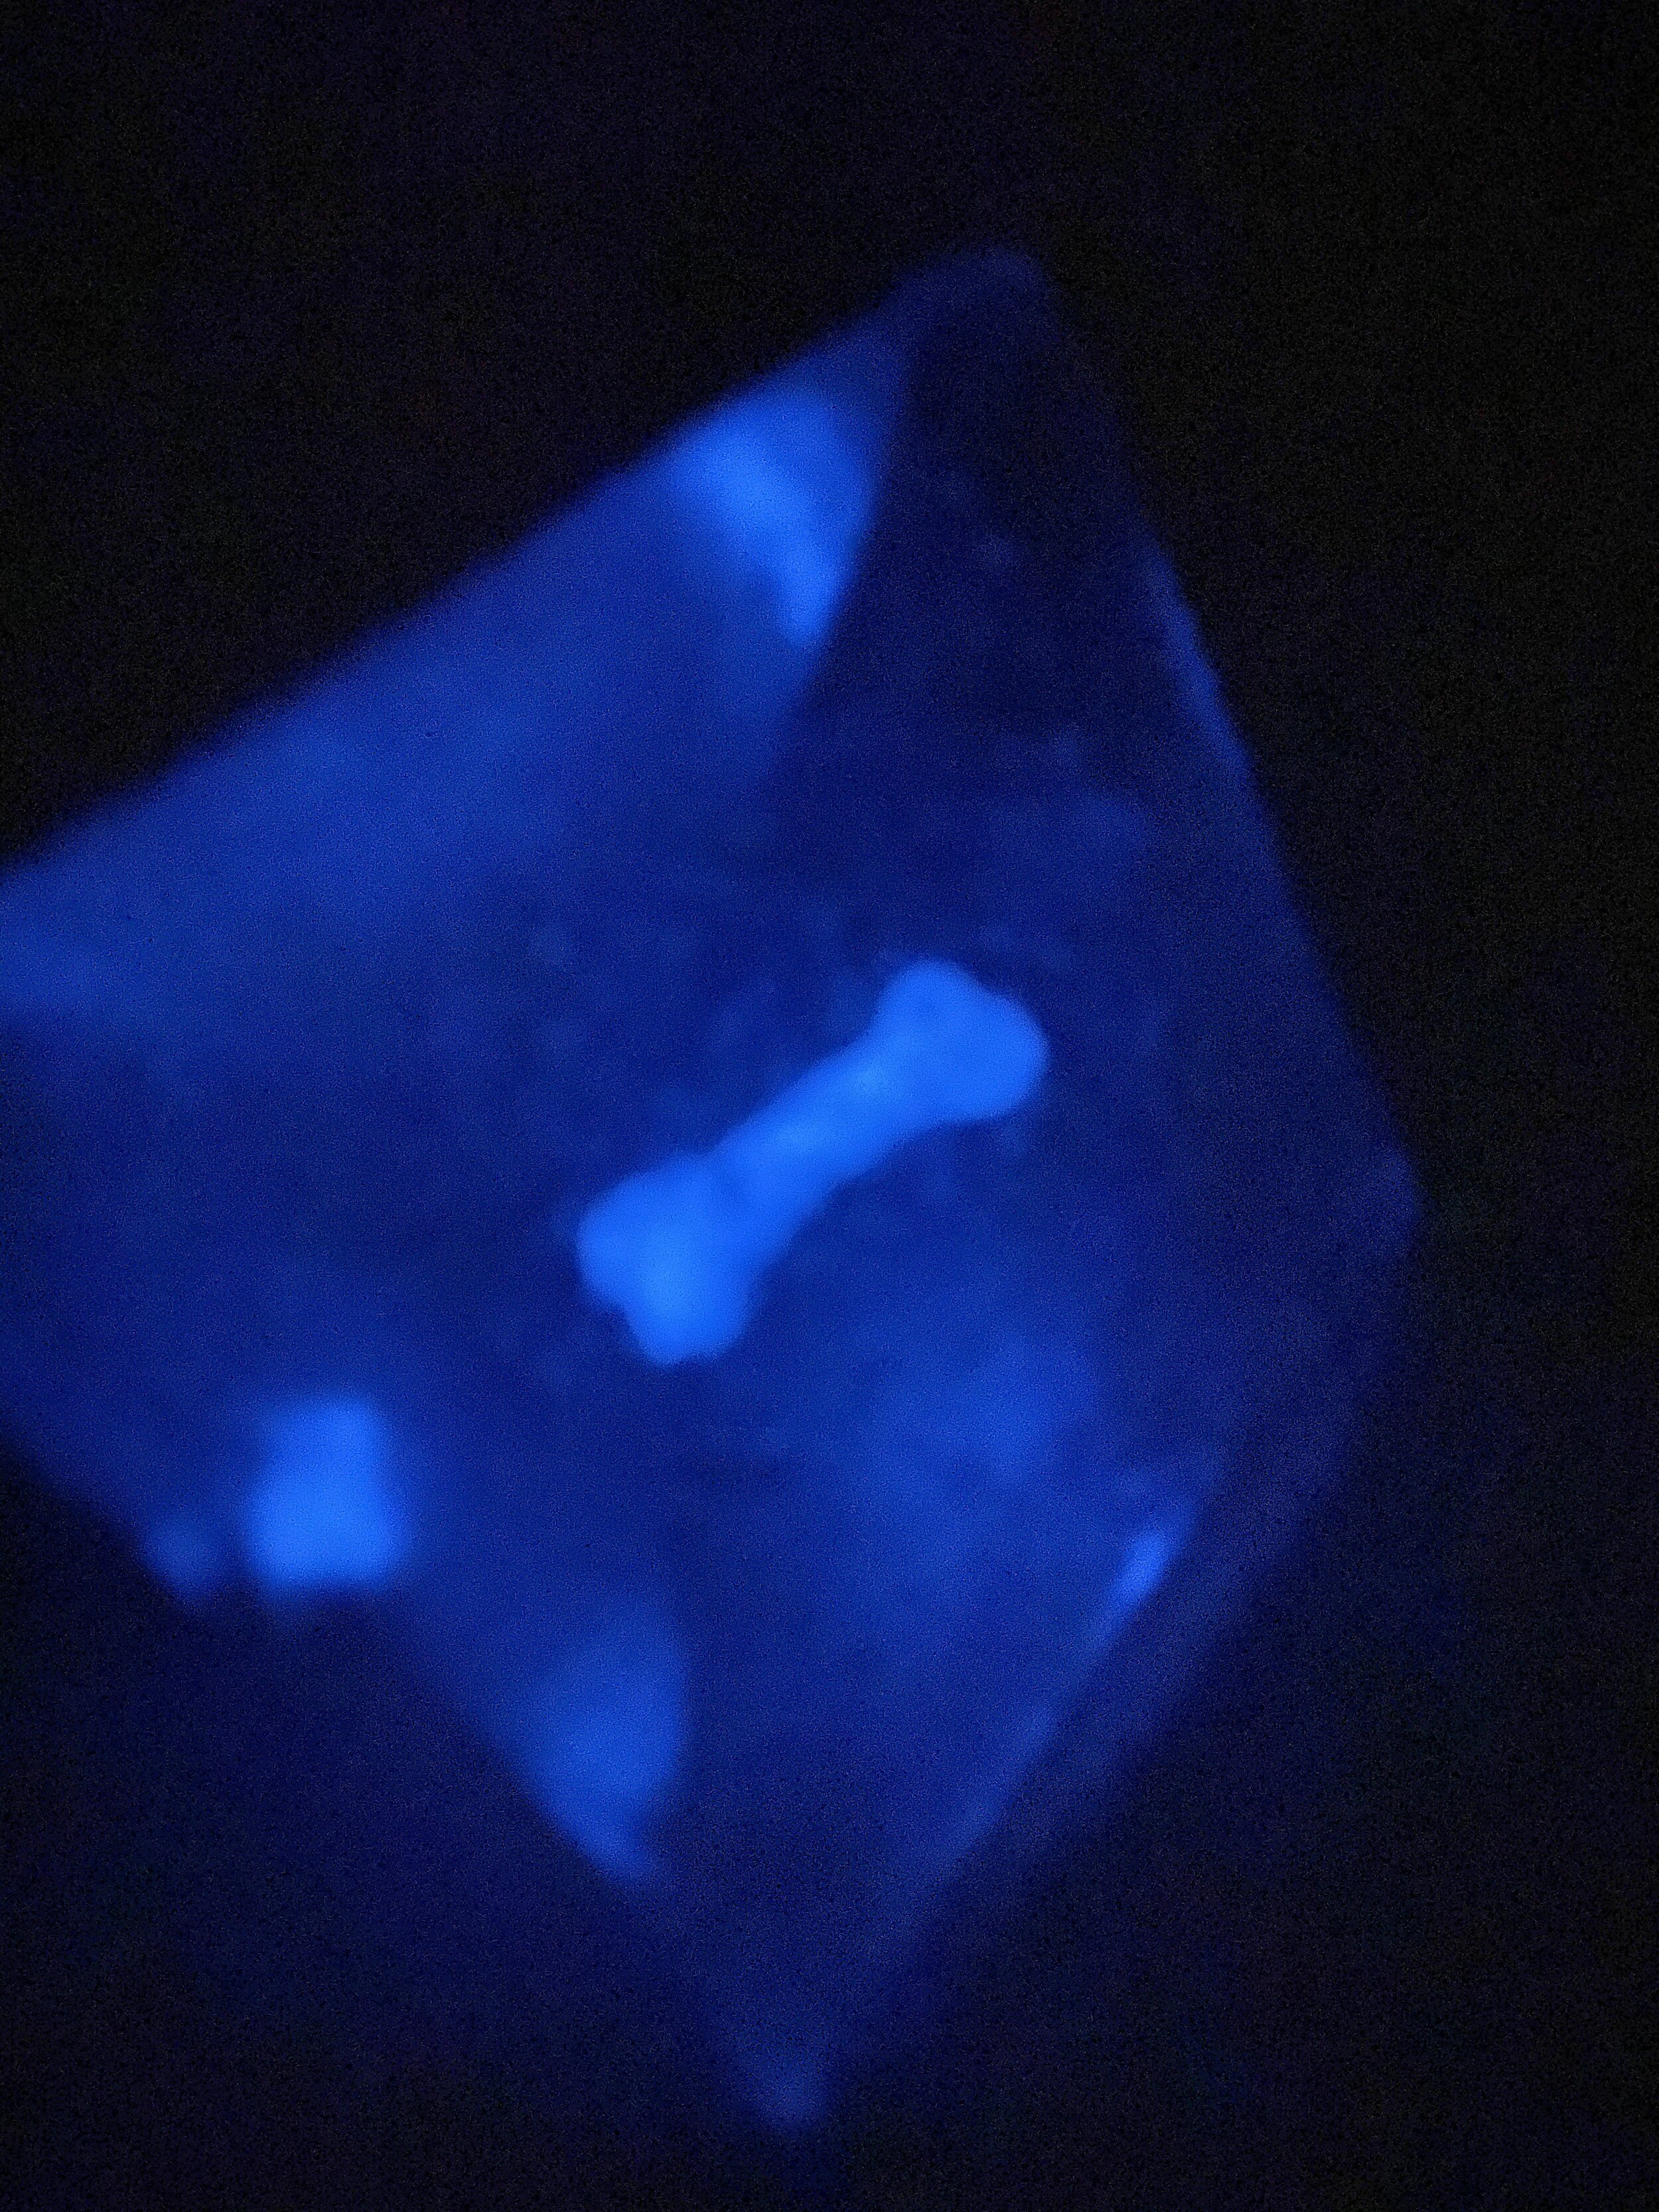
A sculpted bone shape using the modeling paste and cast inside a pyramid.
Also if you are familiar with frit tinting this works great with glow powder! This is how I achieved the effect of the glowing pyramids below.

Cast pyramids that were “frit tinted” with glow powder.

Beware of big bubbles - they show up in castings too.
This is all I have to share for now but I’m sure I will cook up more things to try! Stay tuned. I would love to hear your thoughts/questions/ideas down below. Was this fun? Do you want more? I love feedback :)
Happy Fusing!